First Steps - Fuel System and Interior
January 2022
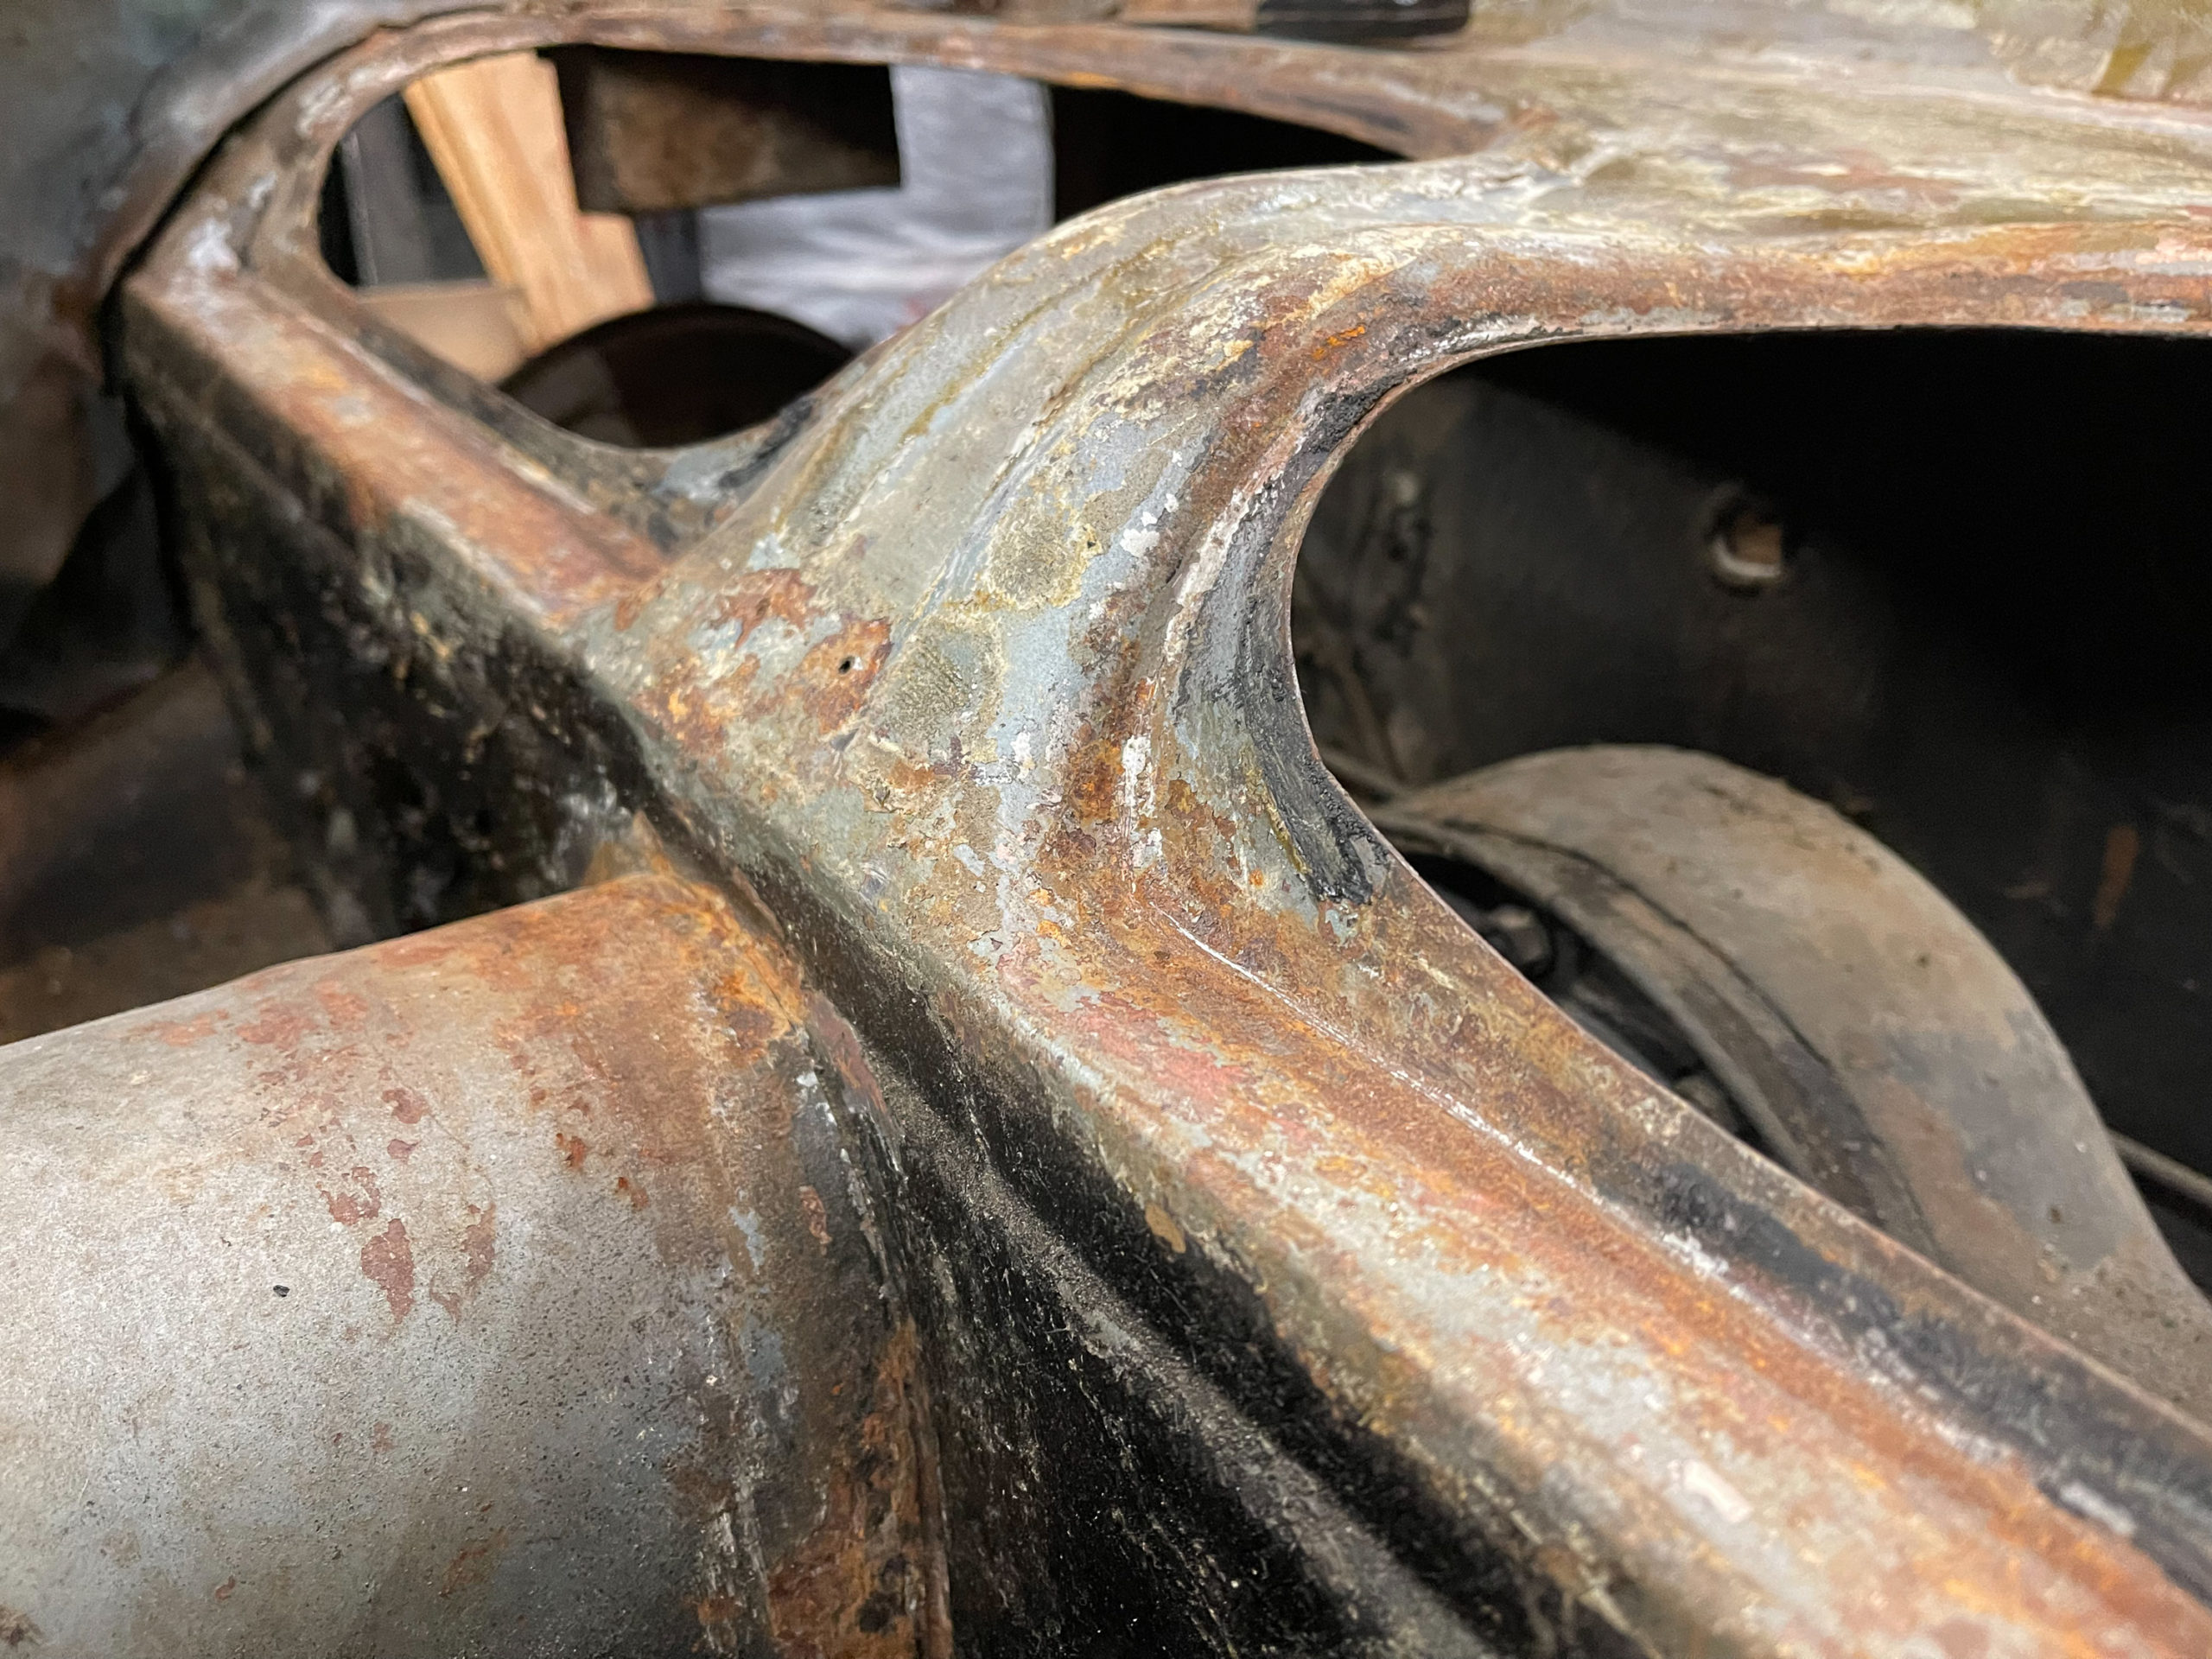
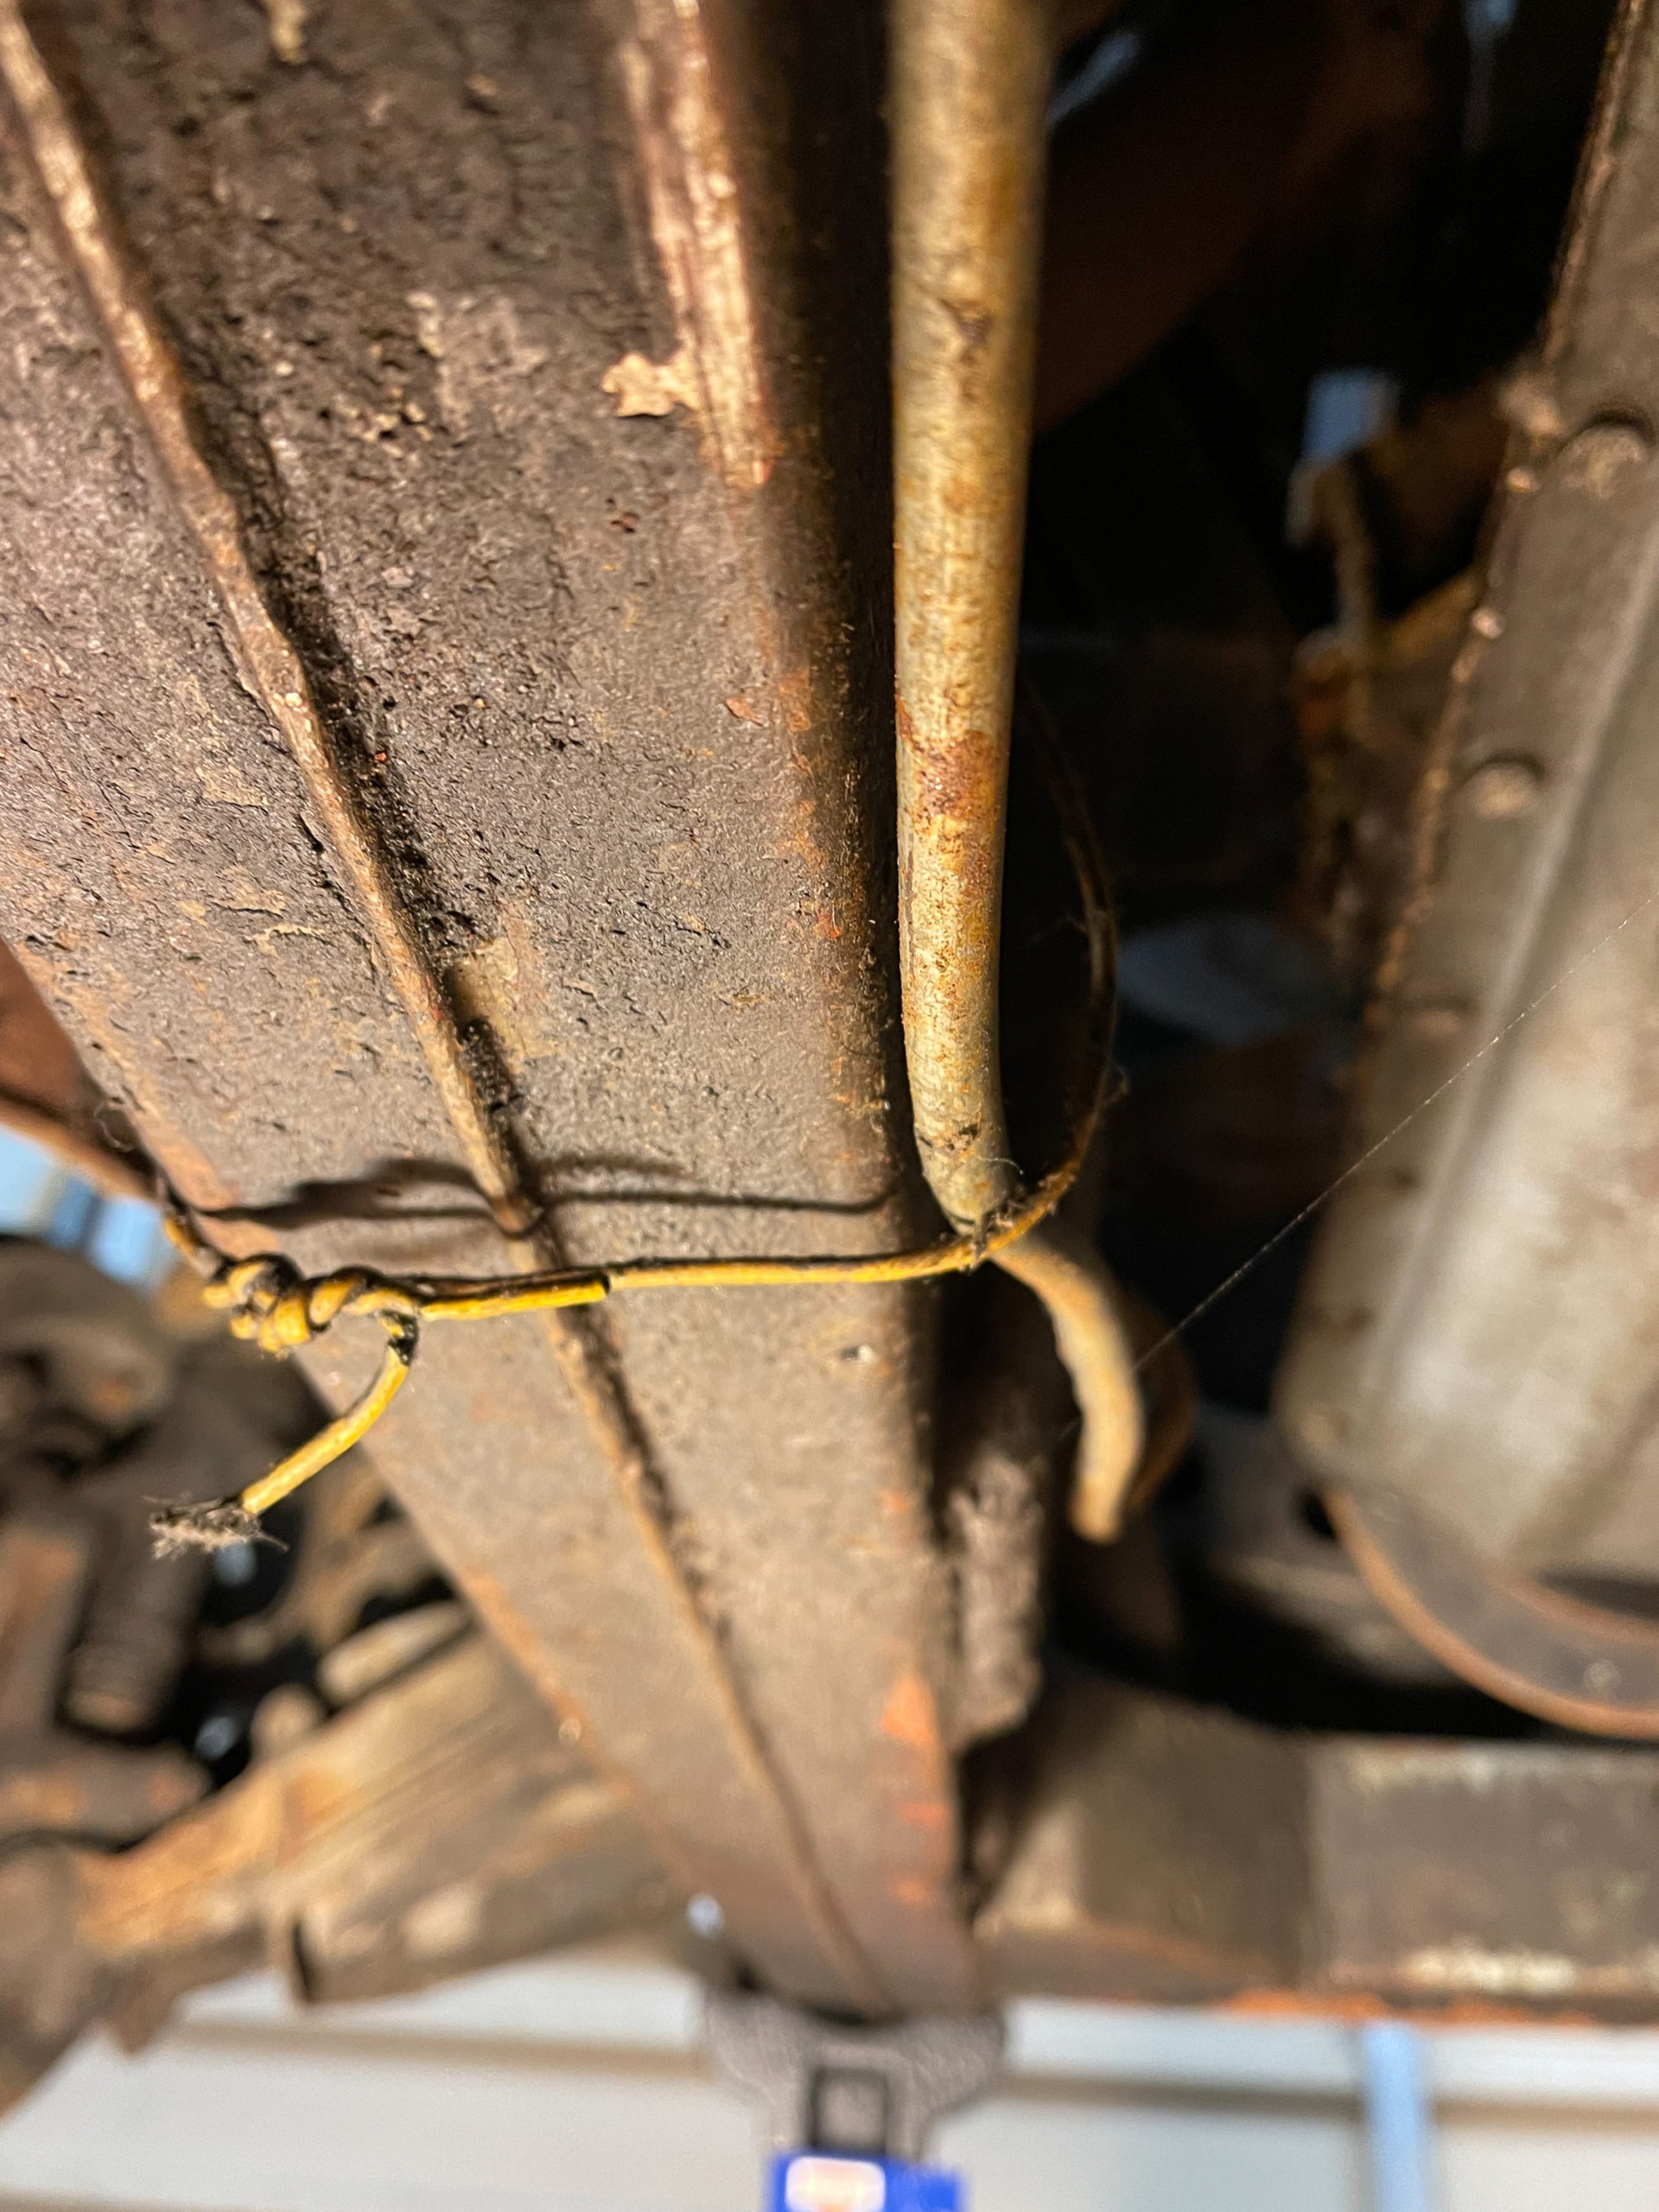
As I start to go through everything, I'm beginning to suspect that someone, probably the last owner, attempted a sort of half-hearted restoration. There's the cobbled together electrical system mentioned below. The entire underside of the car has also been sprayed with some sort of underbody coating. It wasn't properly prepped, so a lot of it flaking off. It's also all over a lot of the components down there like the rear leaf springs and shackles. Ideal.
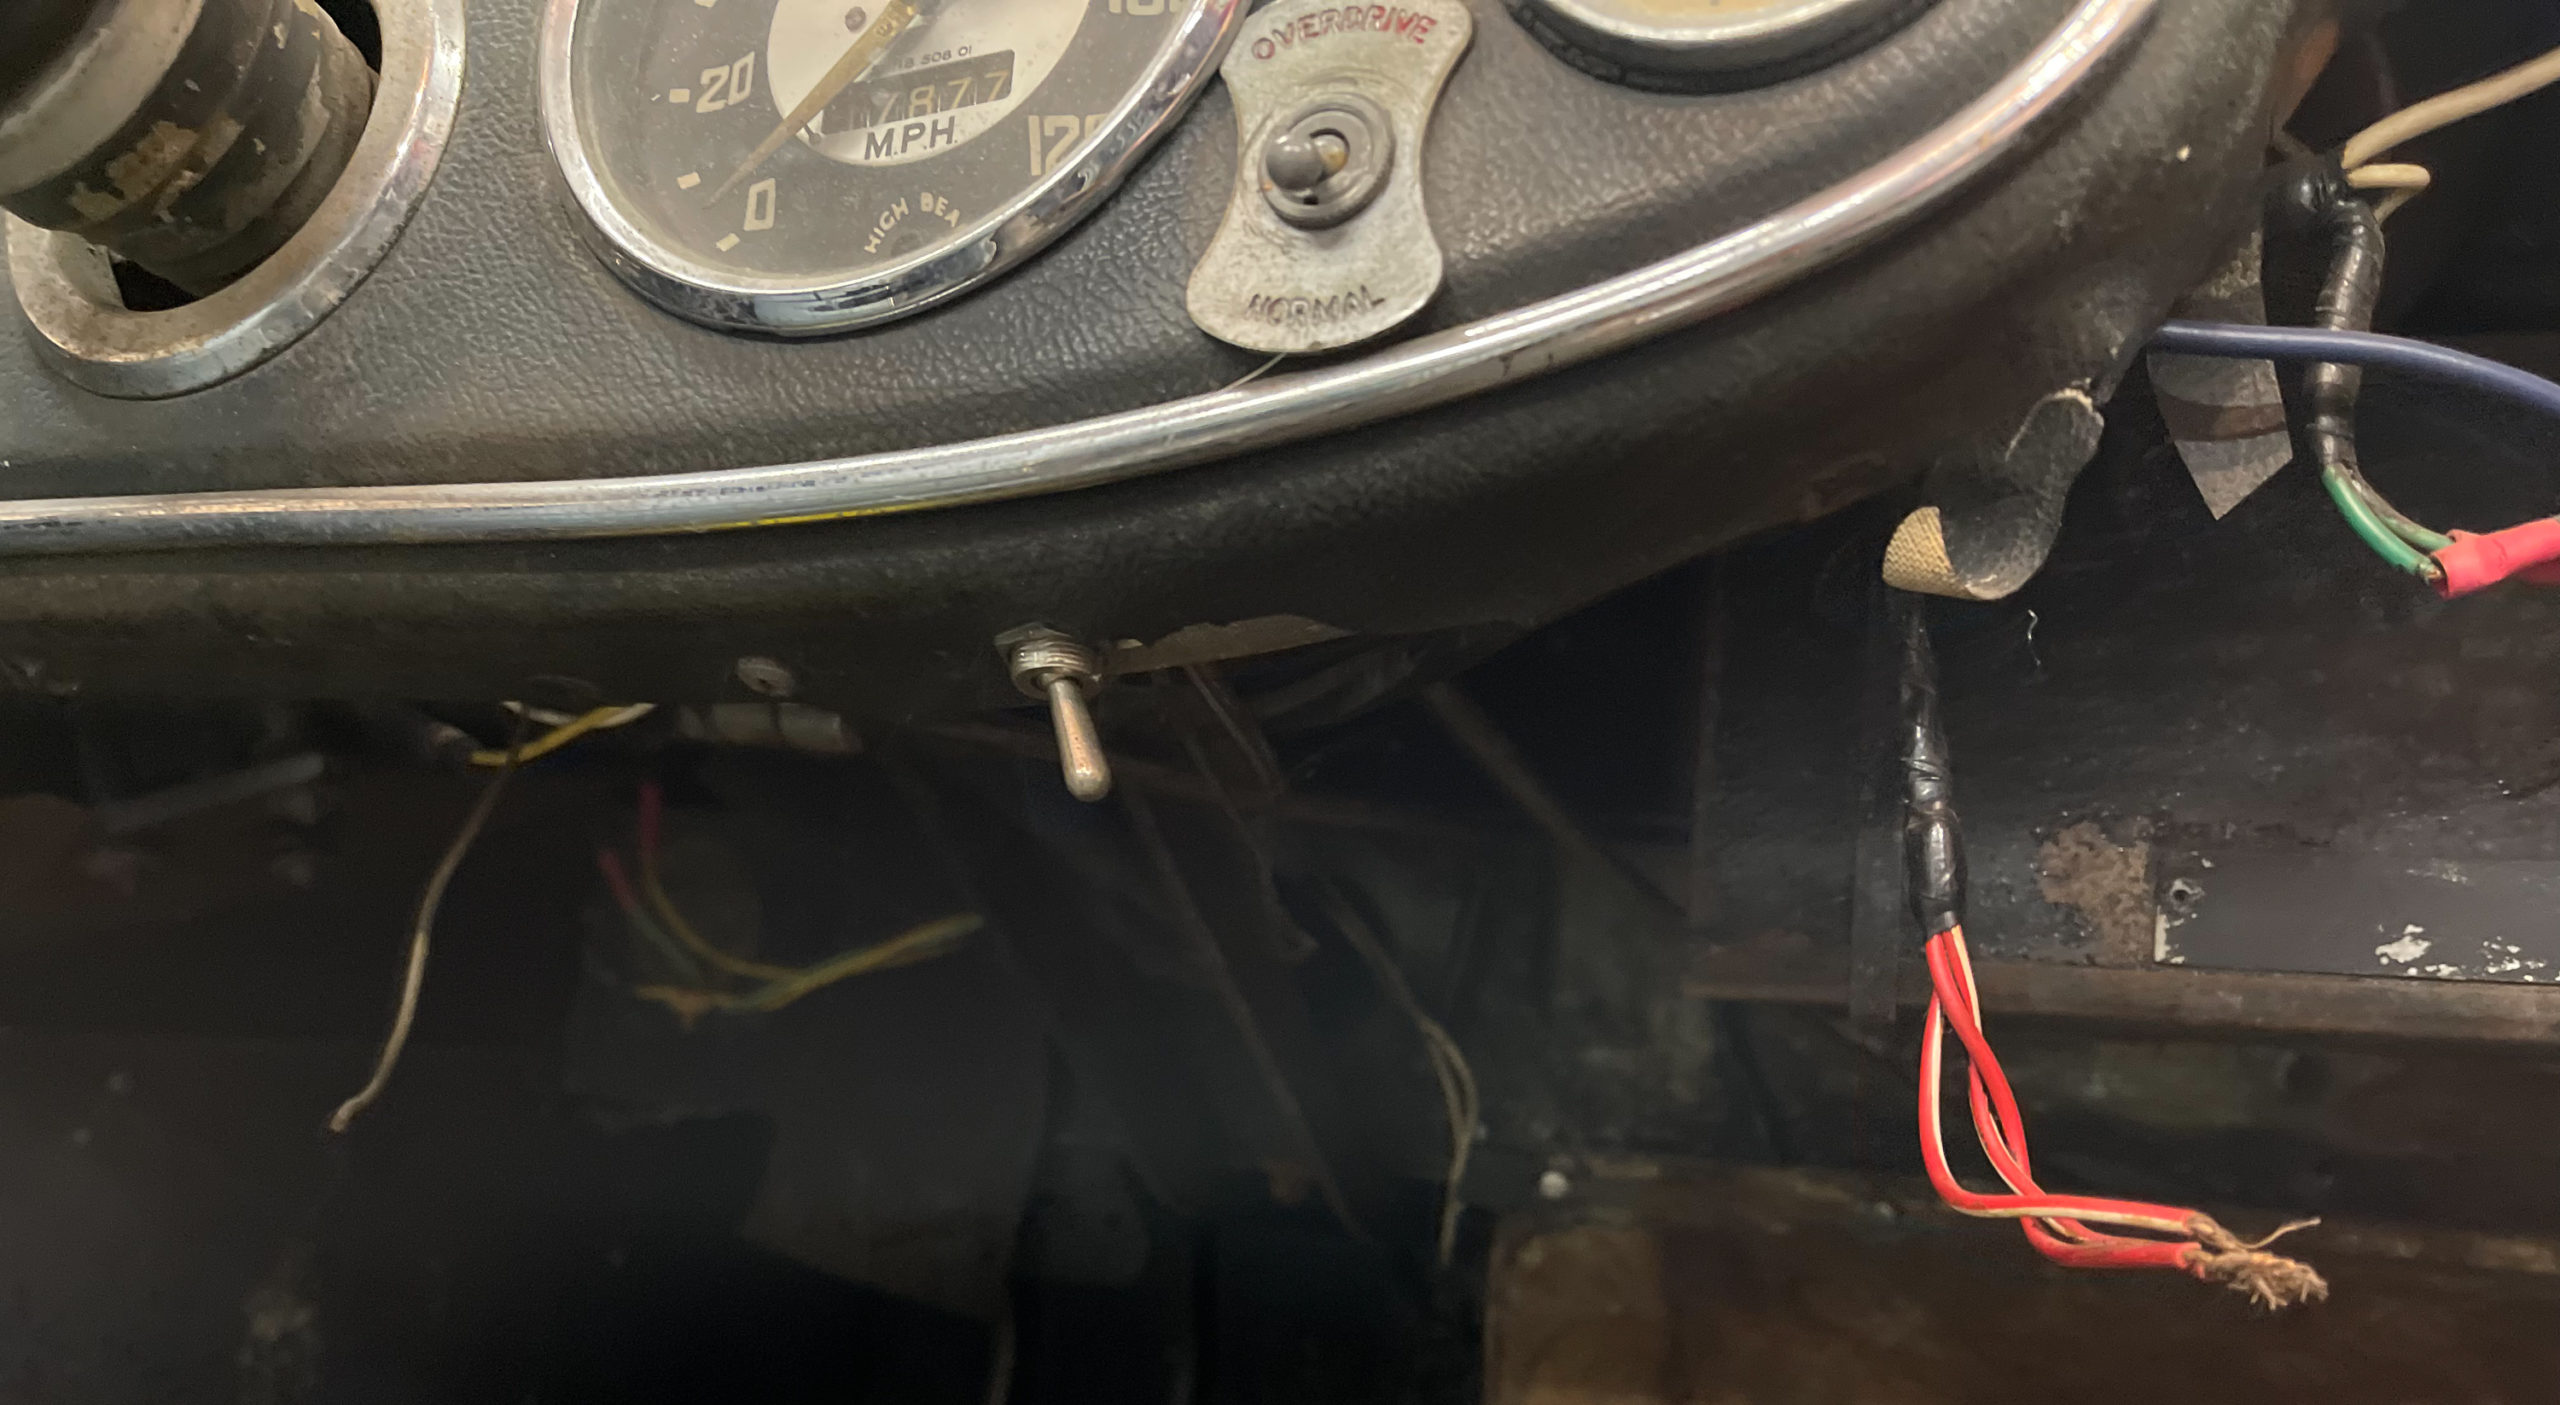
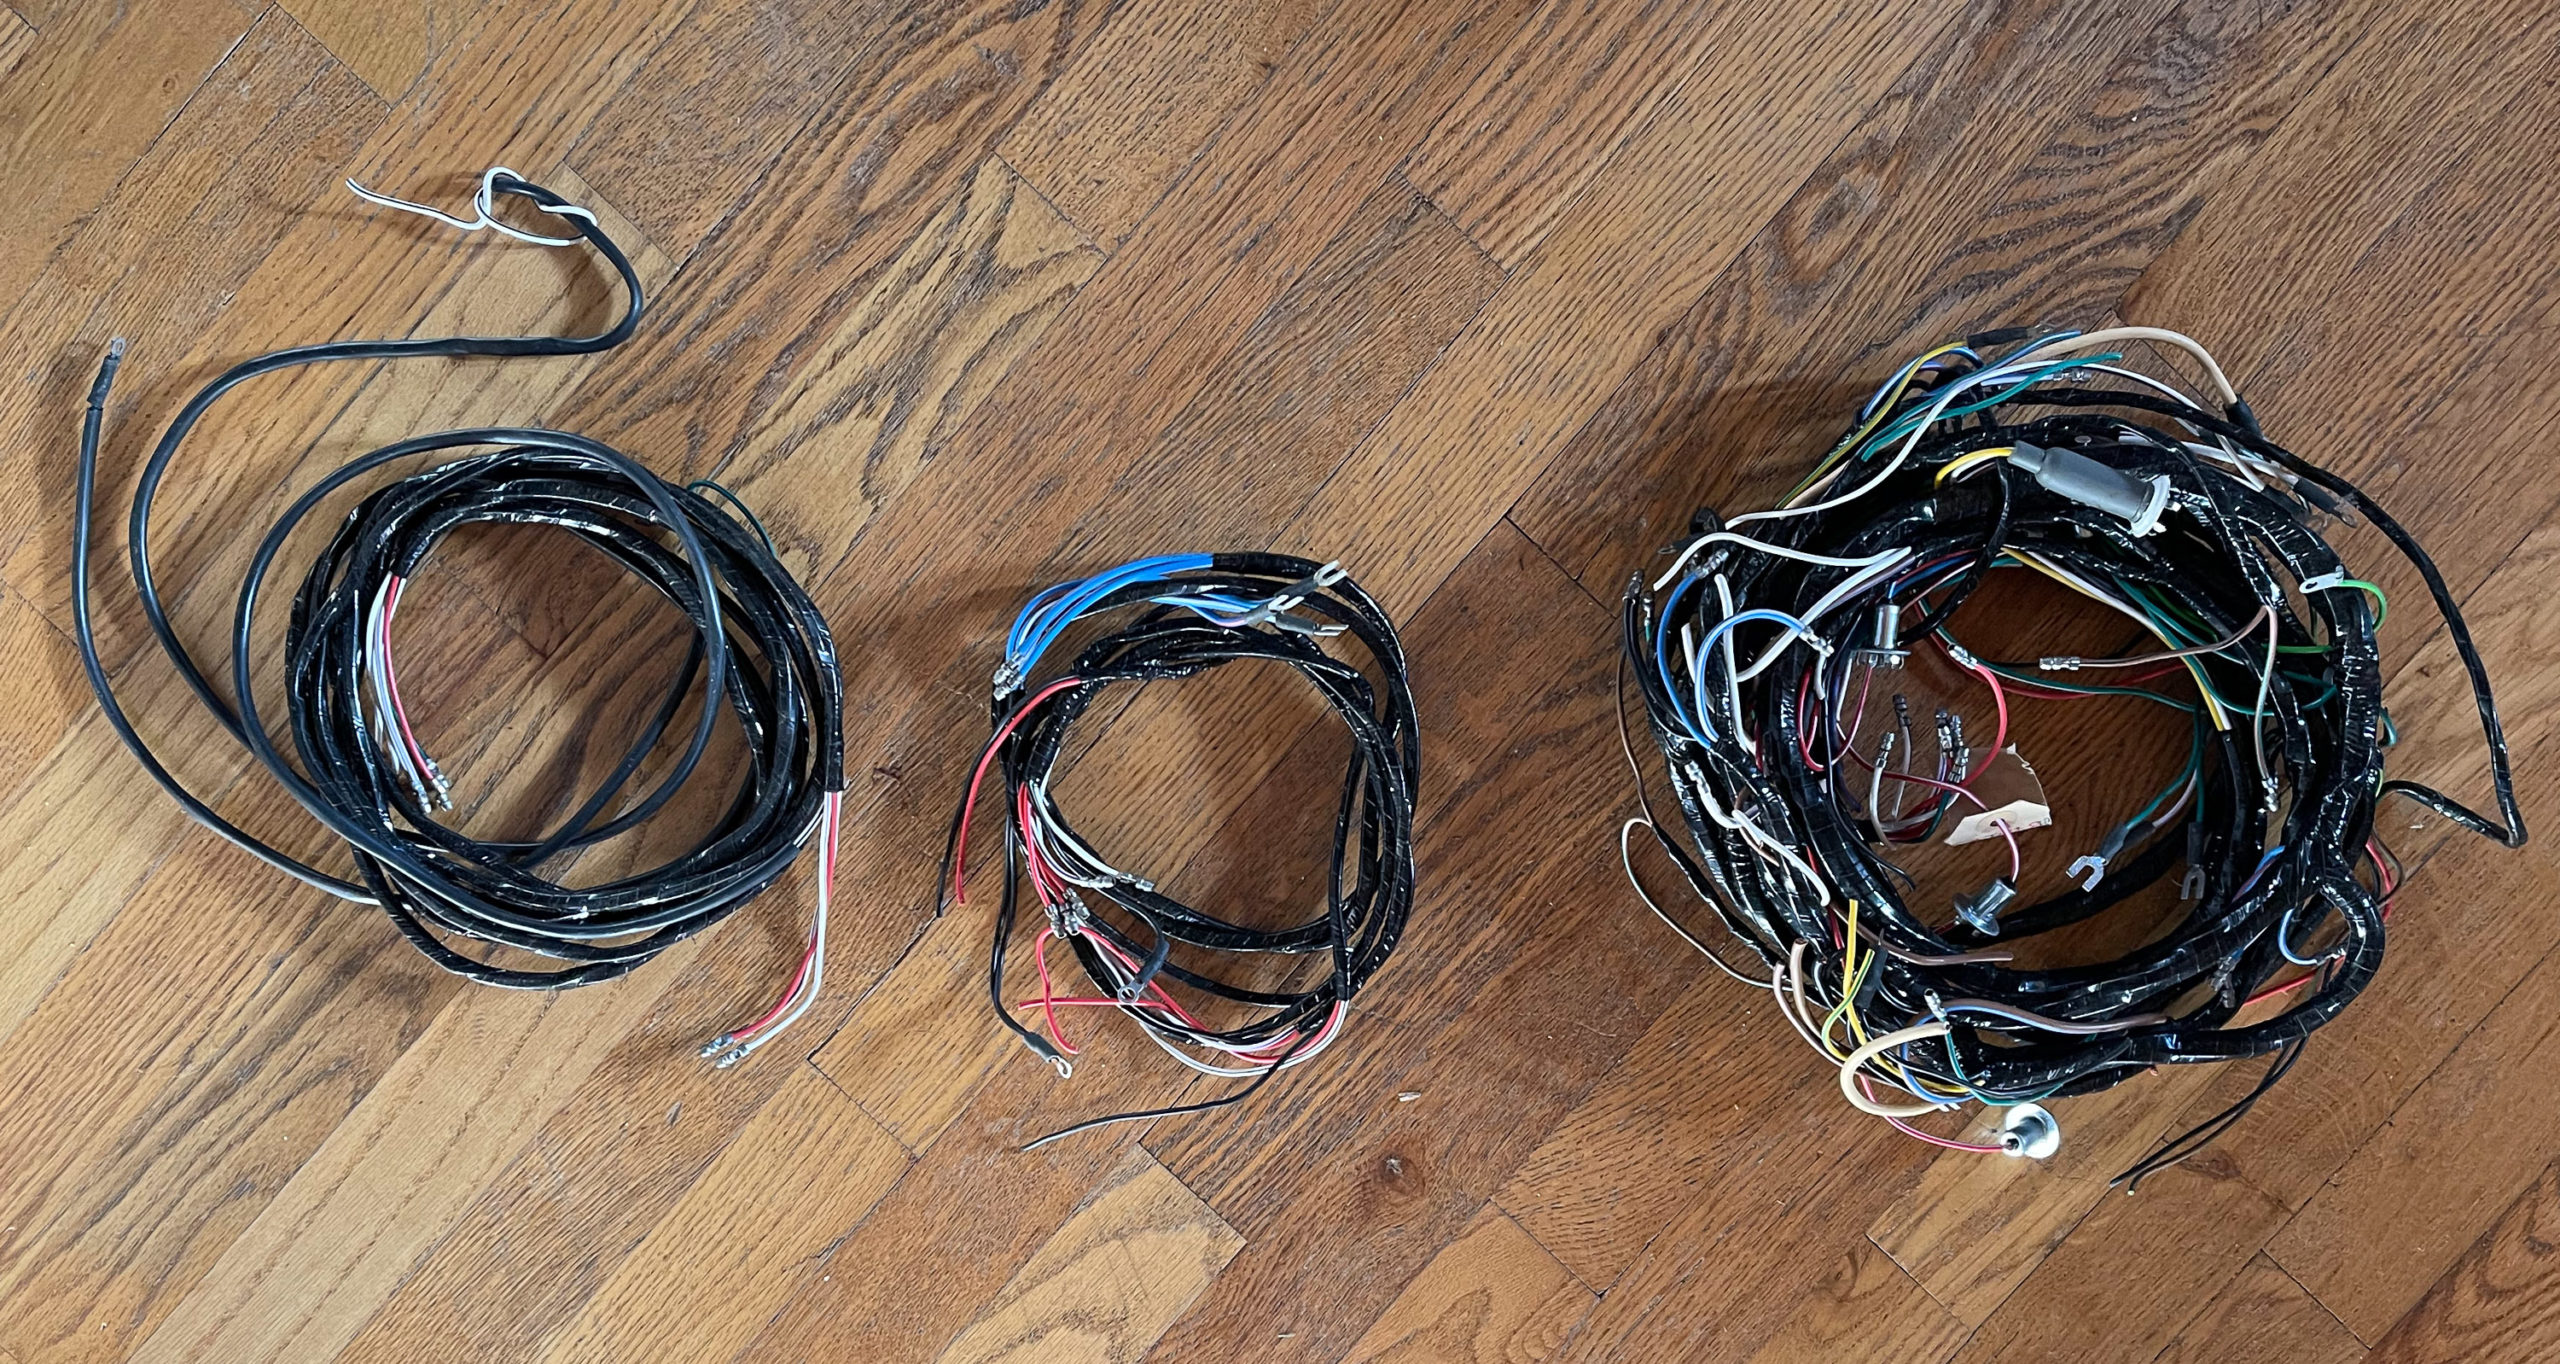
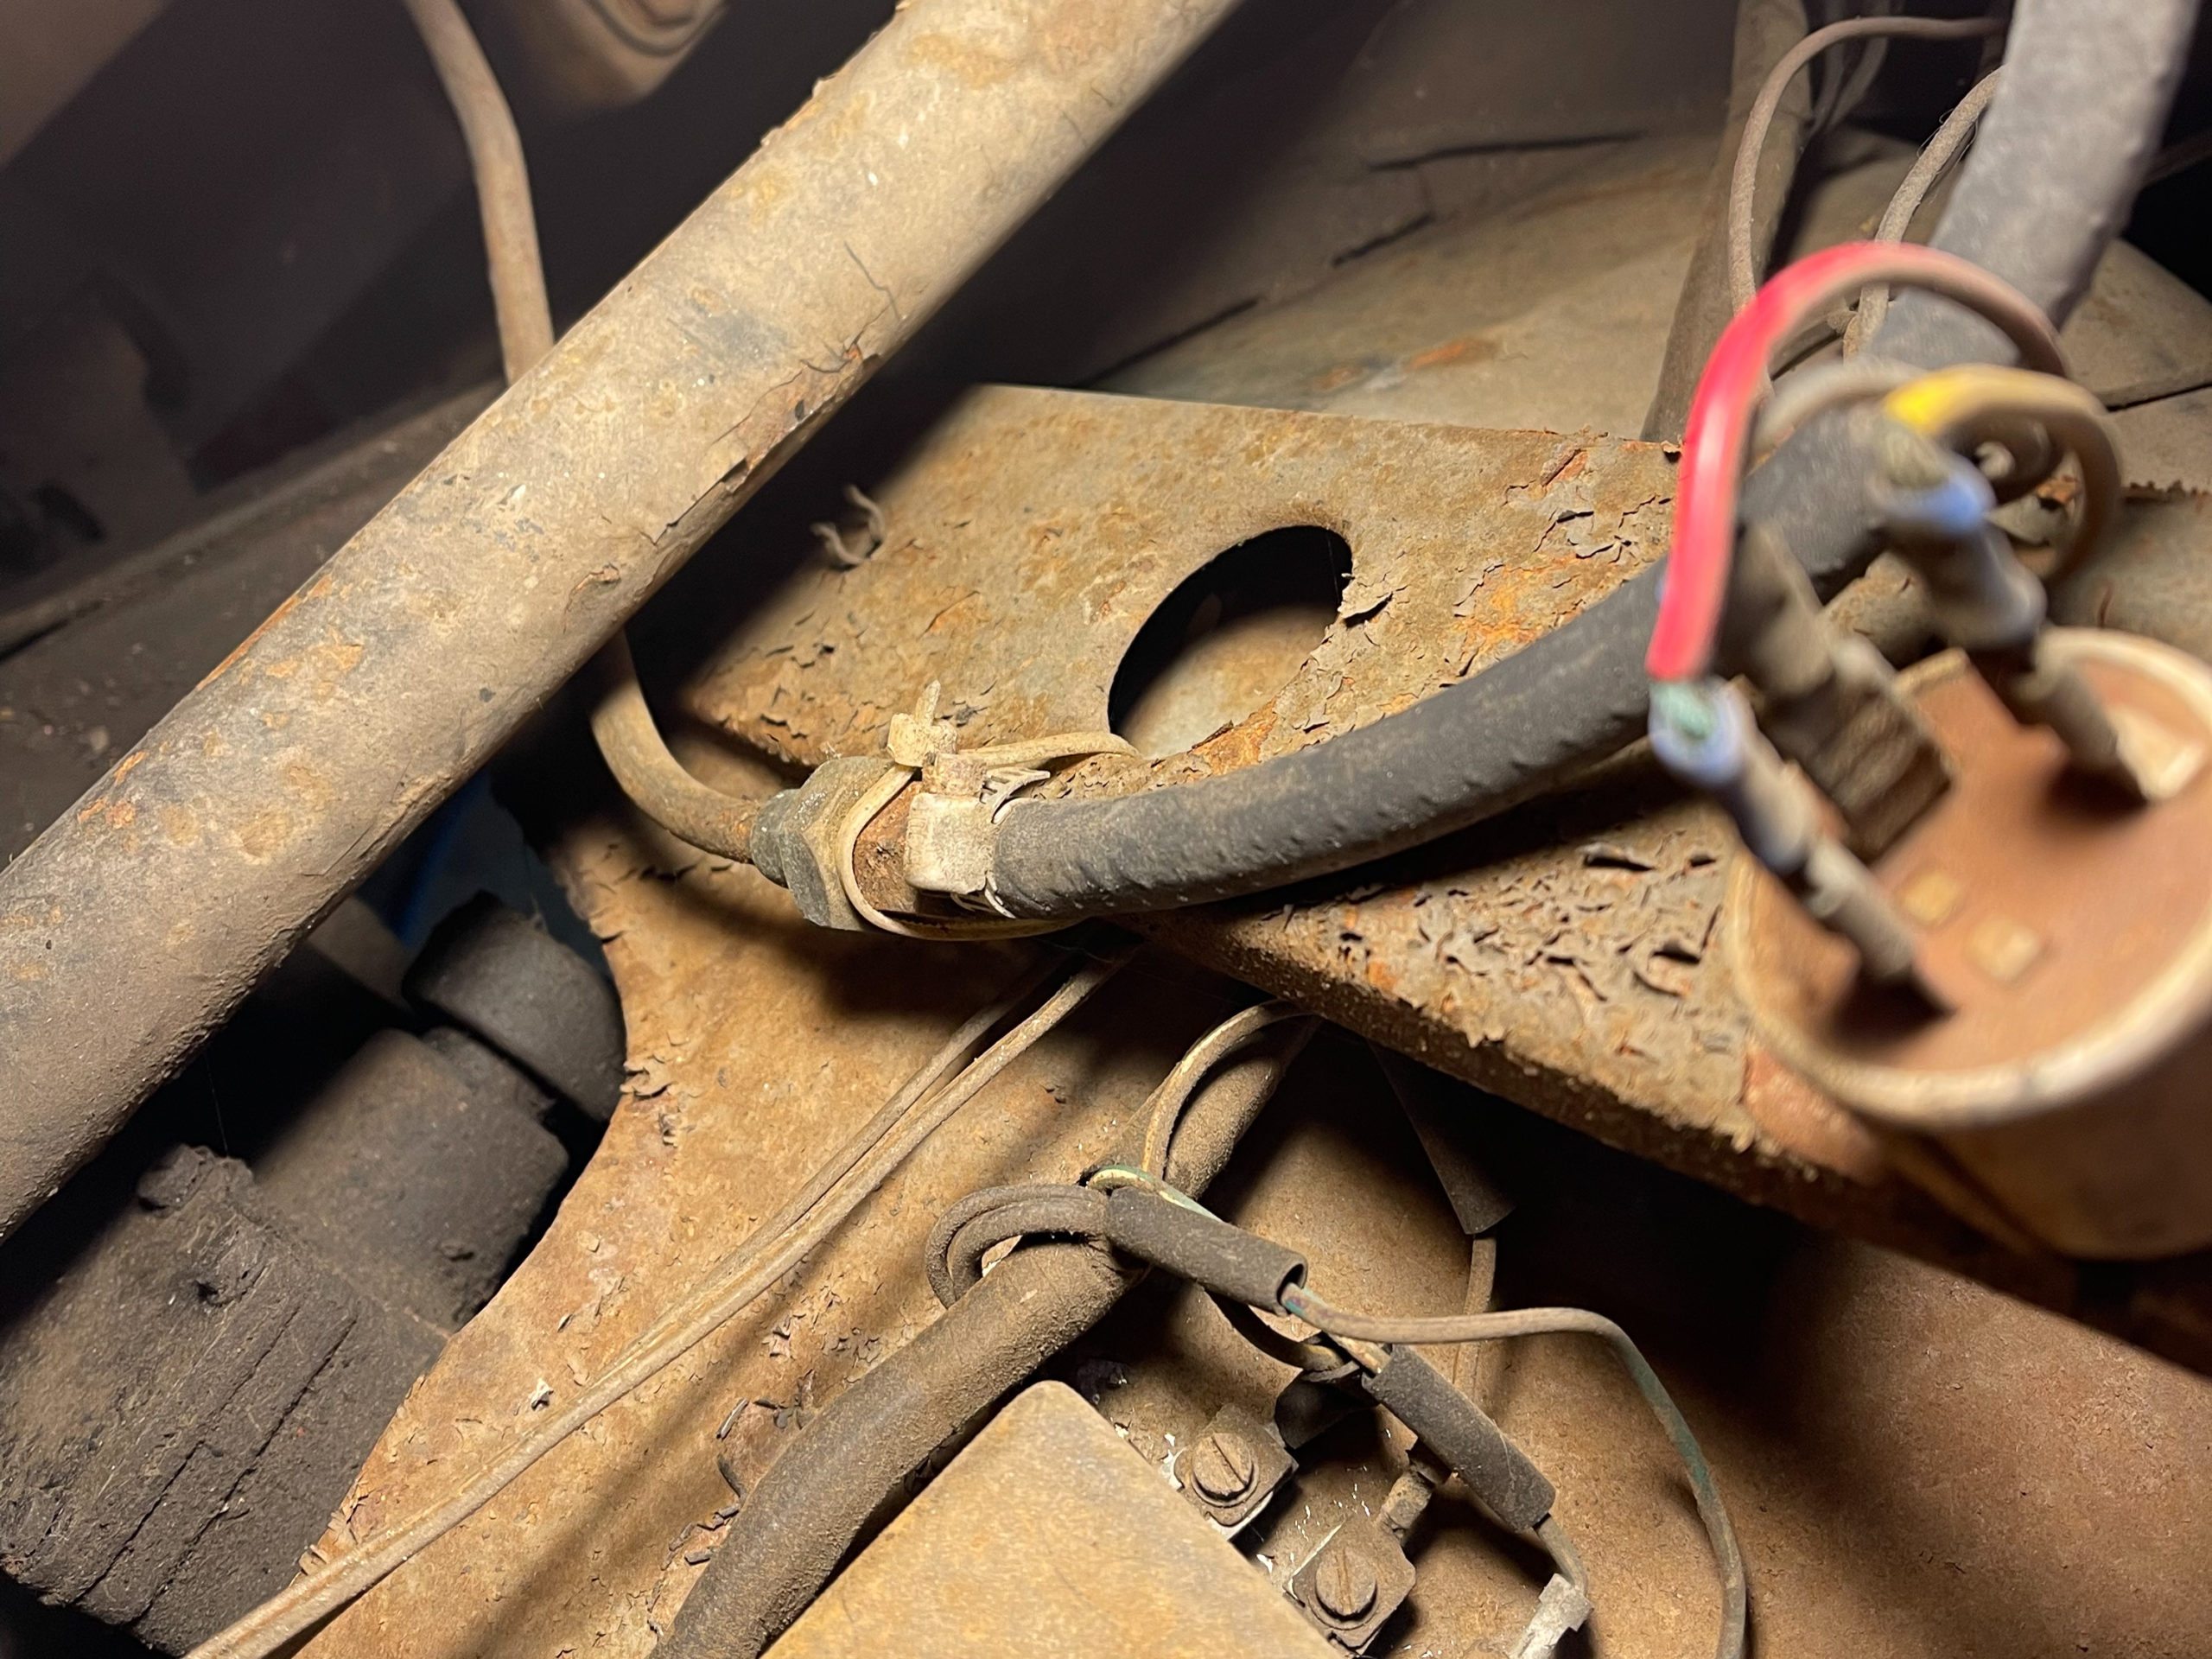
On to progress. First up, electrical. The shot above is fairly typical of the electrical system. It's a mess. There are all sorts of wires that are twisted together, left unterminated, and some that just aren't connected at either end. Some sort of electronic ignition was also installed. The story as I understand it is that the previous owner did a negative ground conversion and installed an electronic ignition system. Neither of these things is necessarily bad. There are a lot of benefits from that - you can use an alternator instead of a generator, run a much wider variety of fuel pumps, install a modern radio, and so on. The electronic ignition system would also likely lead to better reliability. However, given the overall state of the system, this would probably make it harder to troubleshoot everything. So one of the things we were talking about buyin is a new wiring harness. They're available for a few hundred dollars and would probably make life a lot easier. Fortunately, one of the things we found on the first day while taking inventory was a brand new wiring harness that appears to be fully complete.
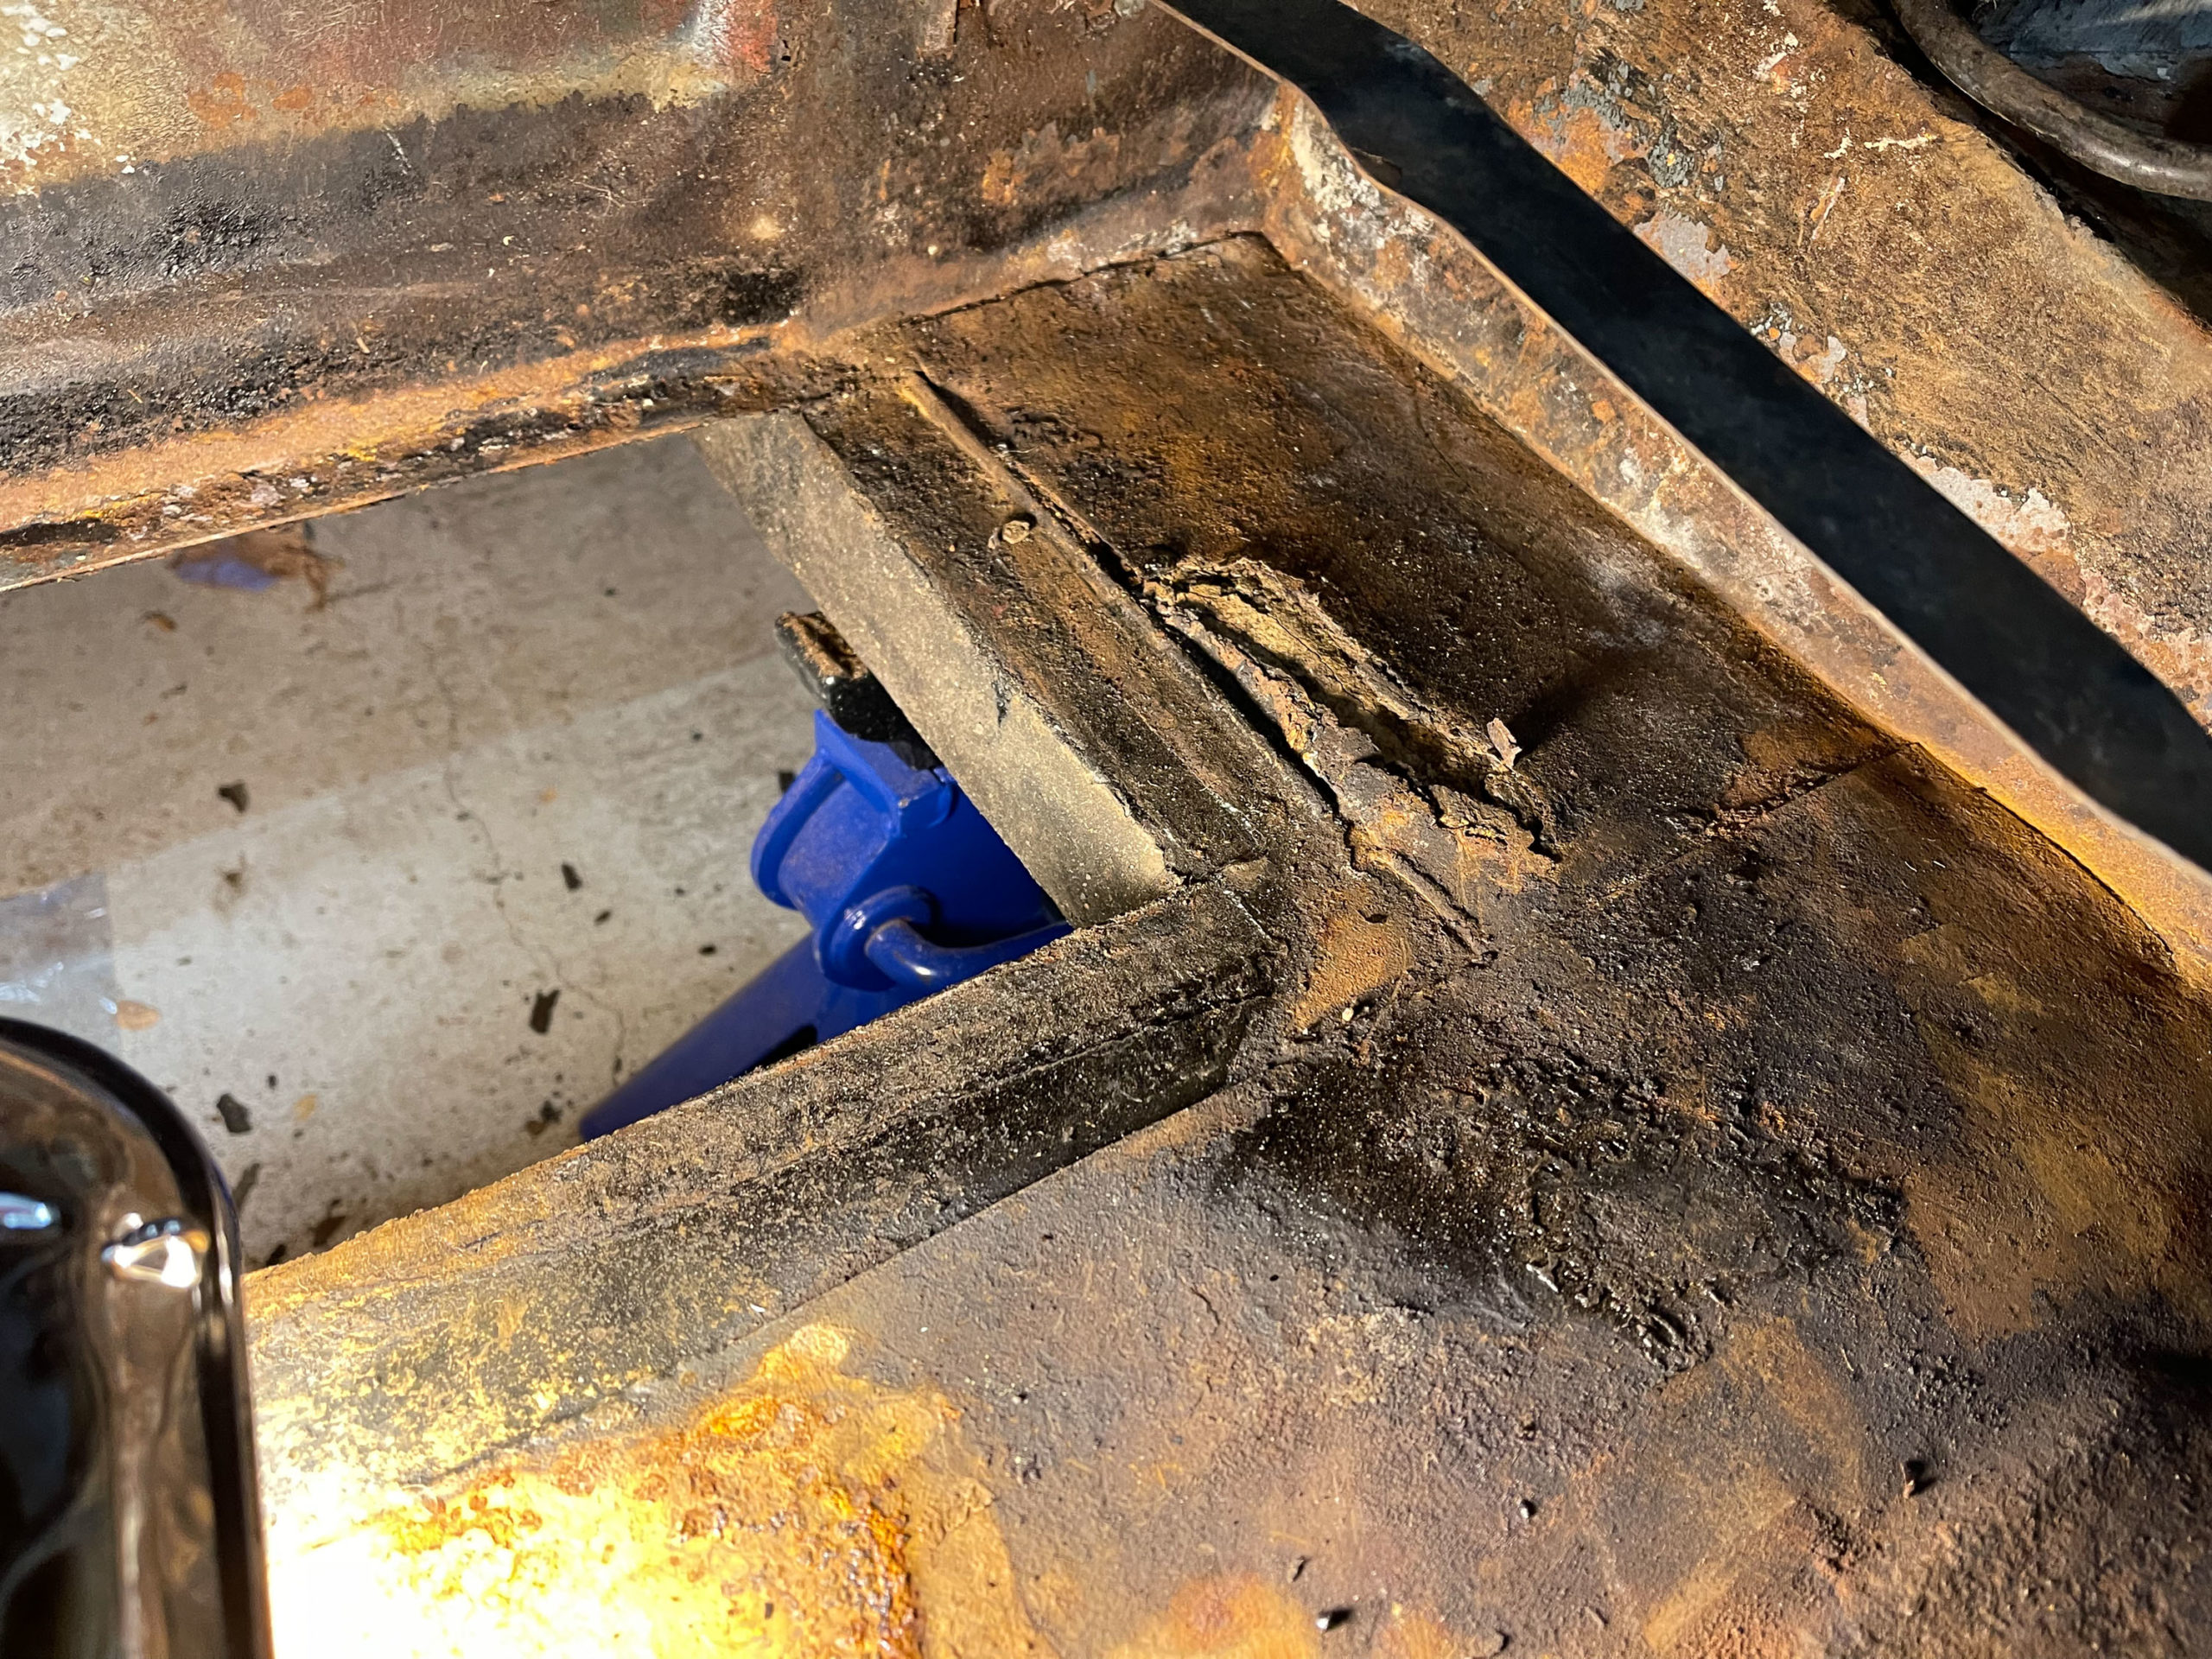
Next up, removing the fuel system - fuel tank, pump, and lines. This one was important in two ways. Given that the fuel was left for nearly forty years, it had absolutely turned to varnish and everything was going to be gummed up. Second, the car smells really bad. Like you don't want to spend time in the garage with it, bad. A little sniff test seemed to point to the worst smells being concentrated around the fuel system. So, that became first priority. First up was removing the fuel tank. The initial steps of disconnecting the straps that hold it down went smoothly enough, and I was able to disconnect the fuel line, filler, and float without a problem. The only problem was trying to break it free from the undercoating that seemed to be gluing it in place, but that broke free eventually. From there the removal of the fuel pump and lines was nice and easy. Wire and zipties are the usual option to secure fuel lines, right?
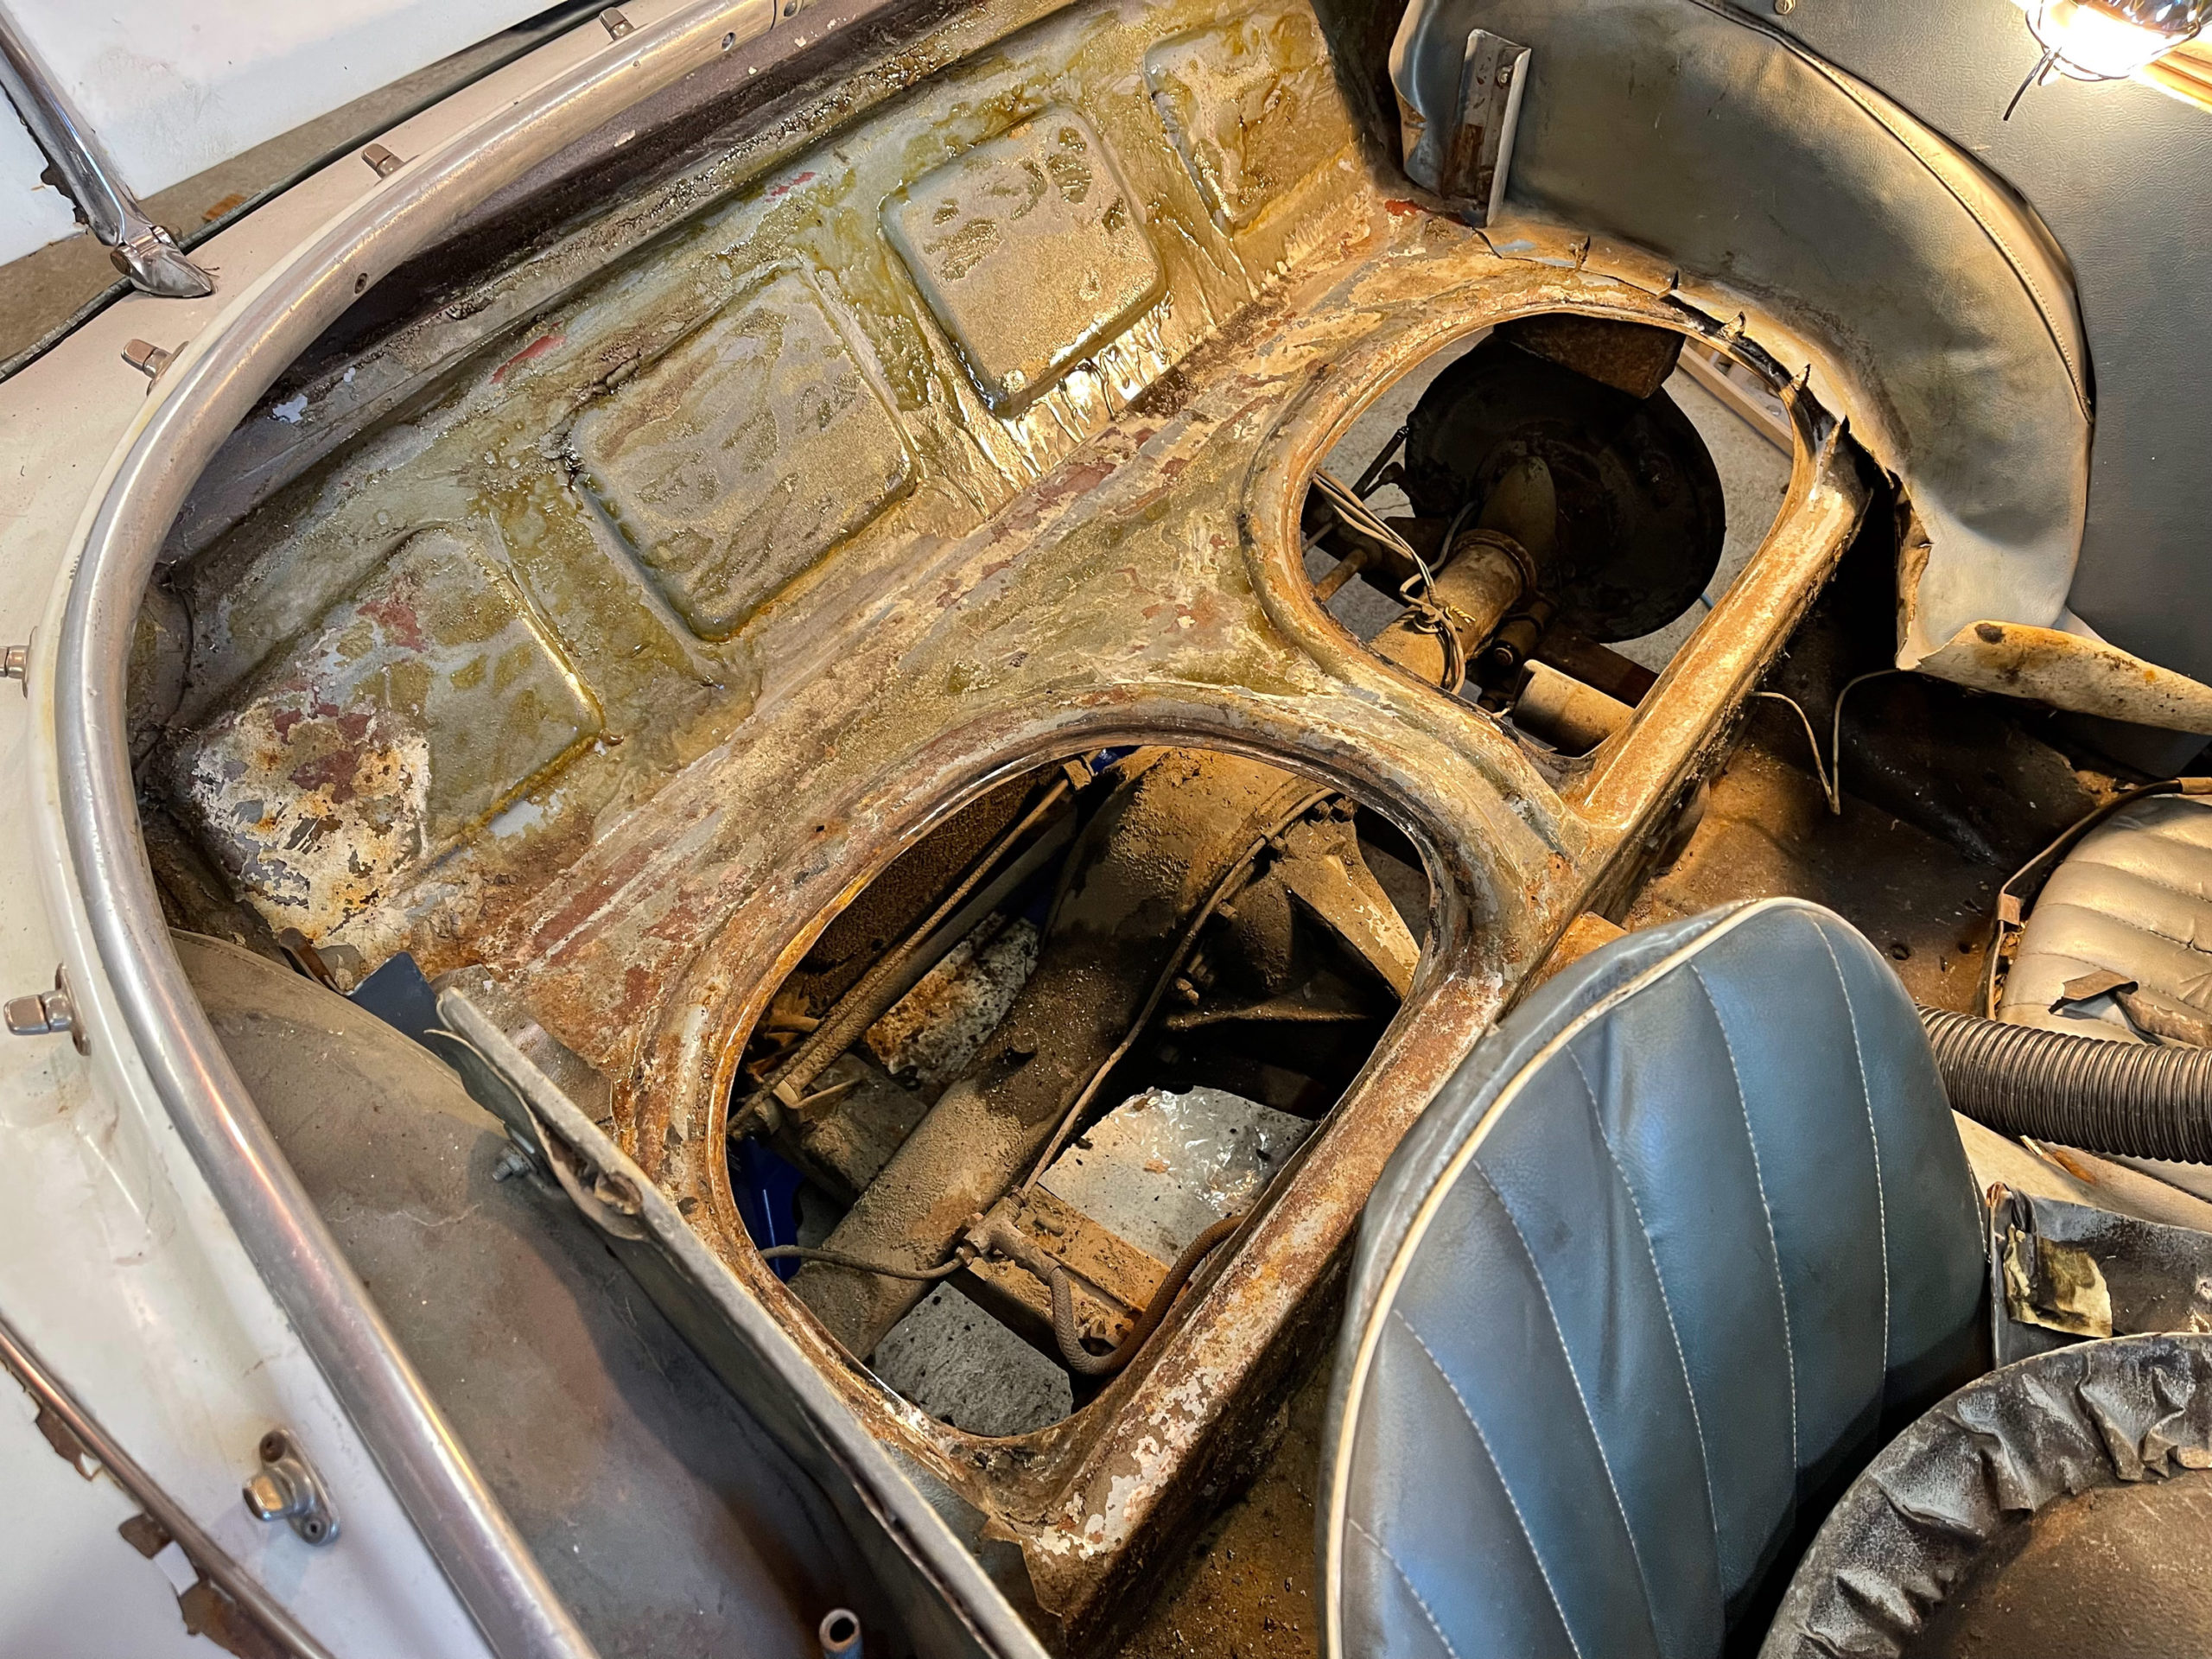
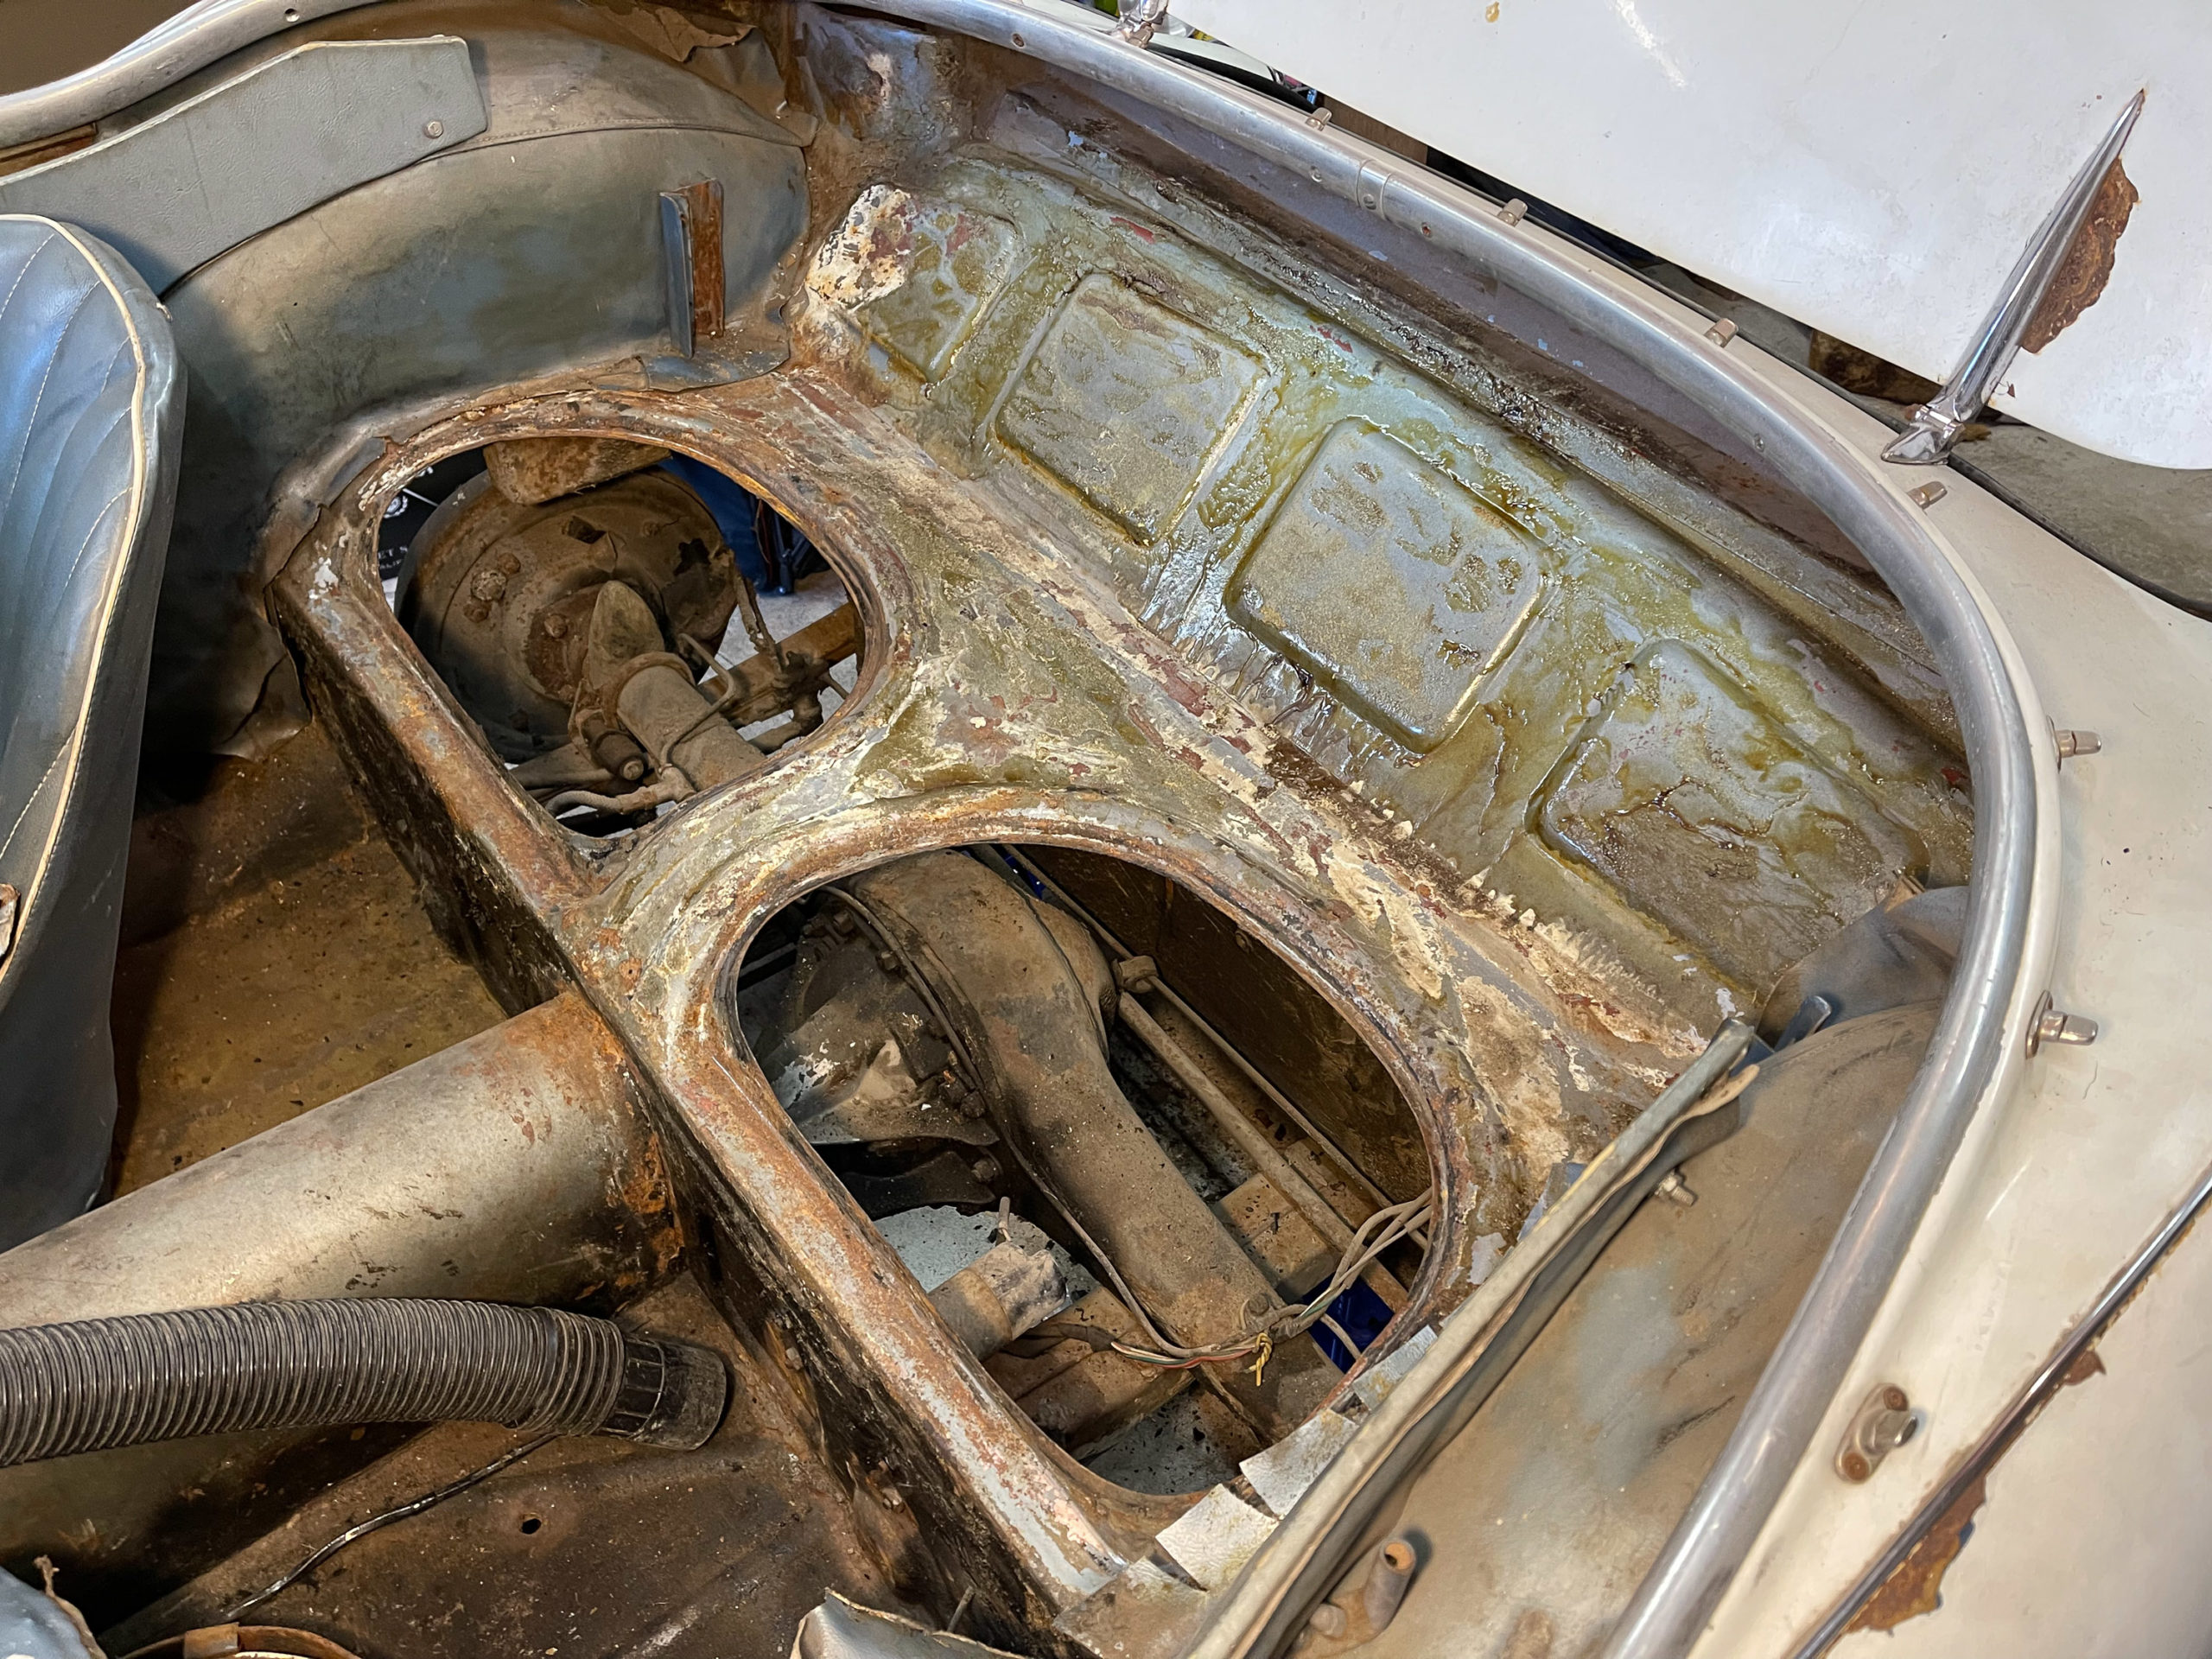
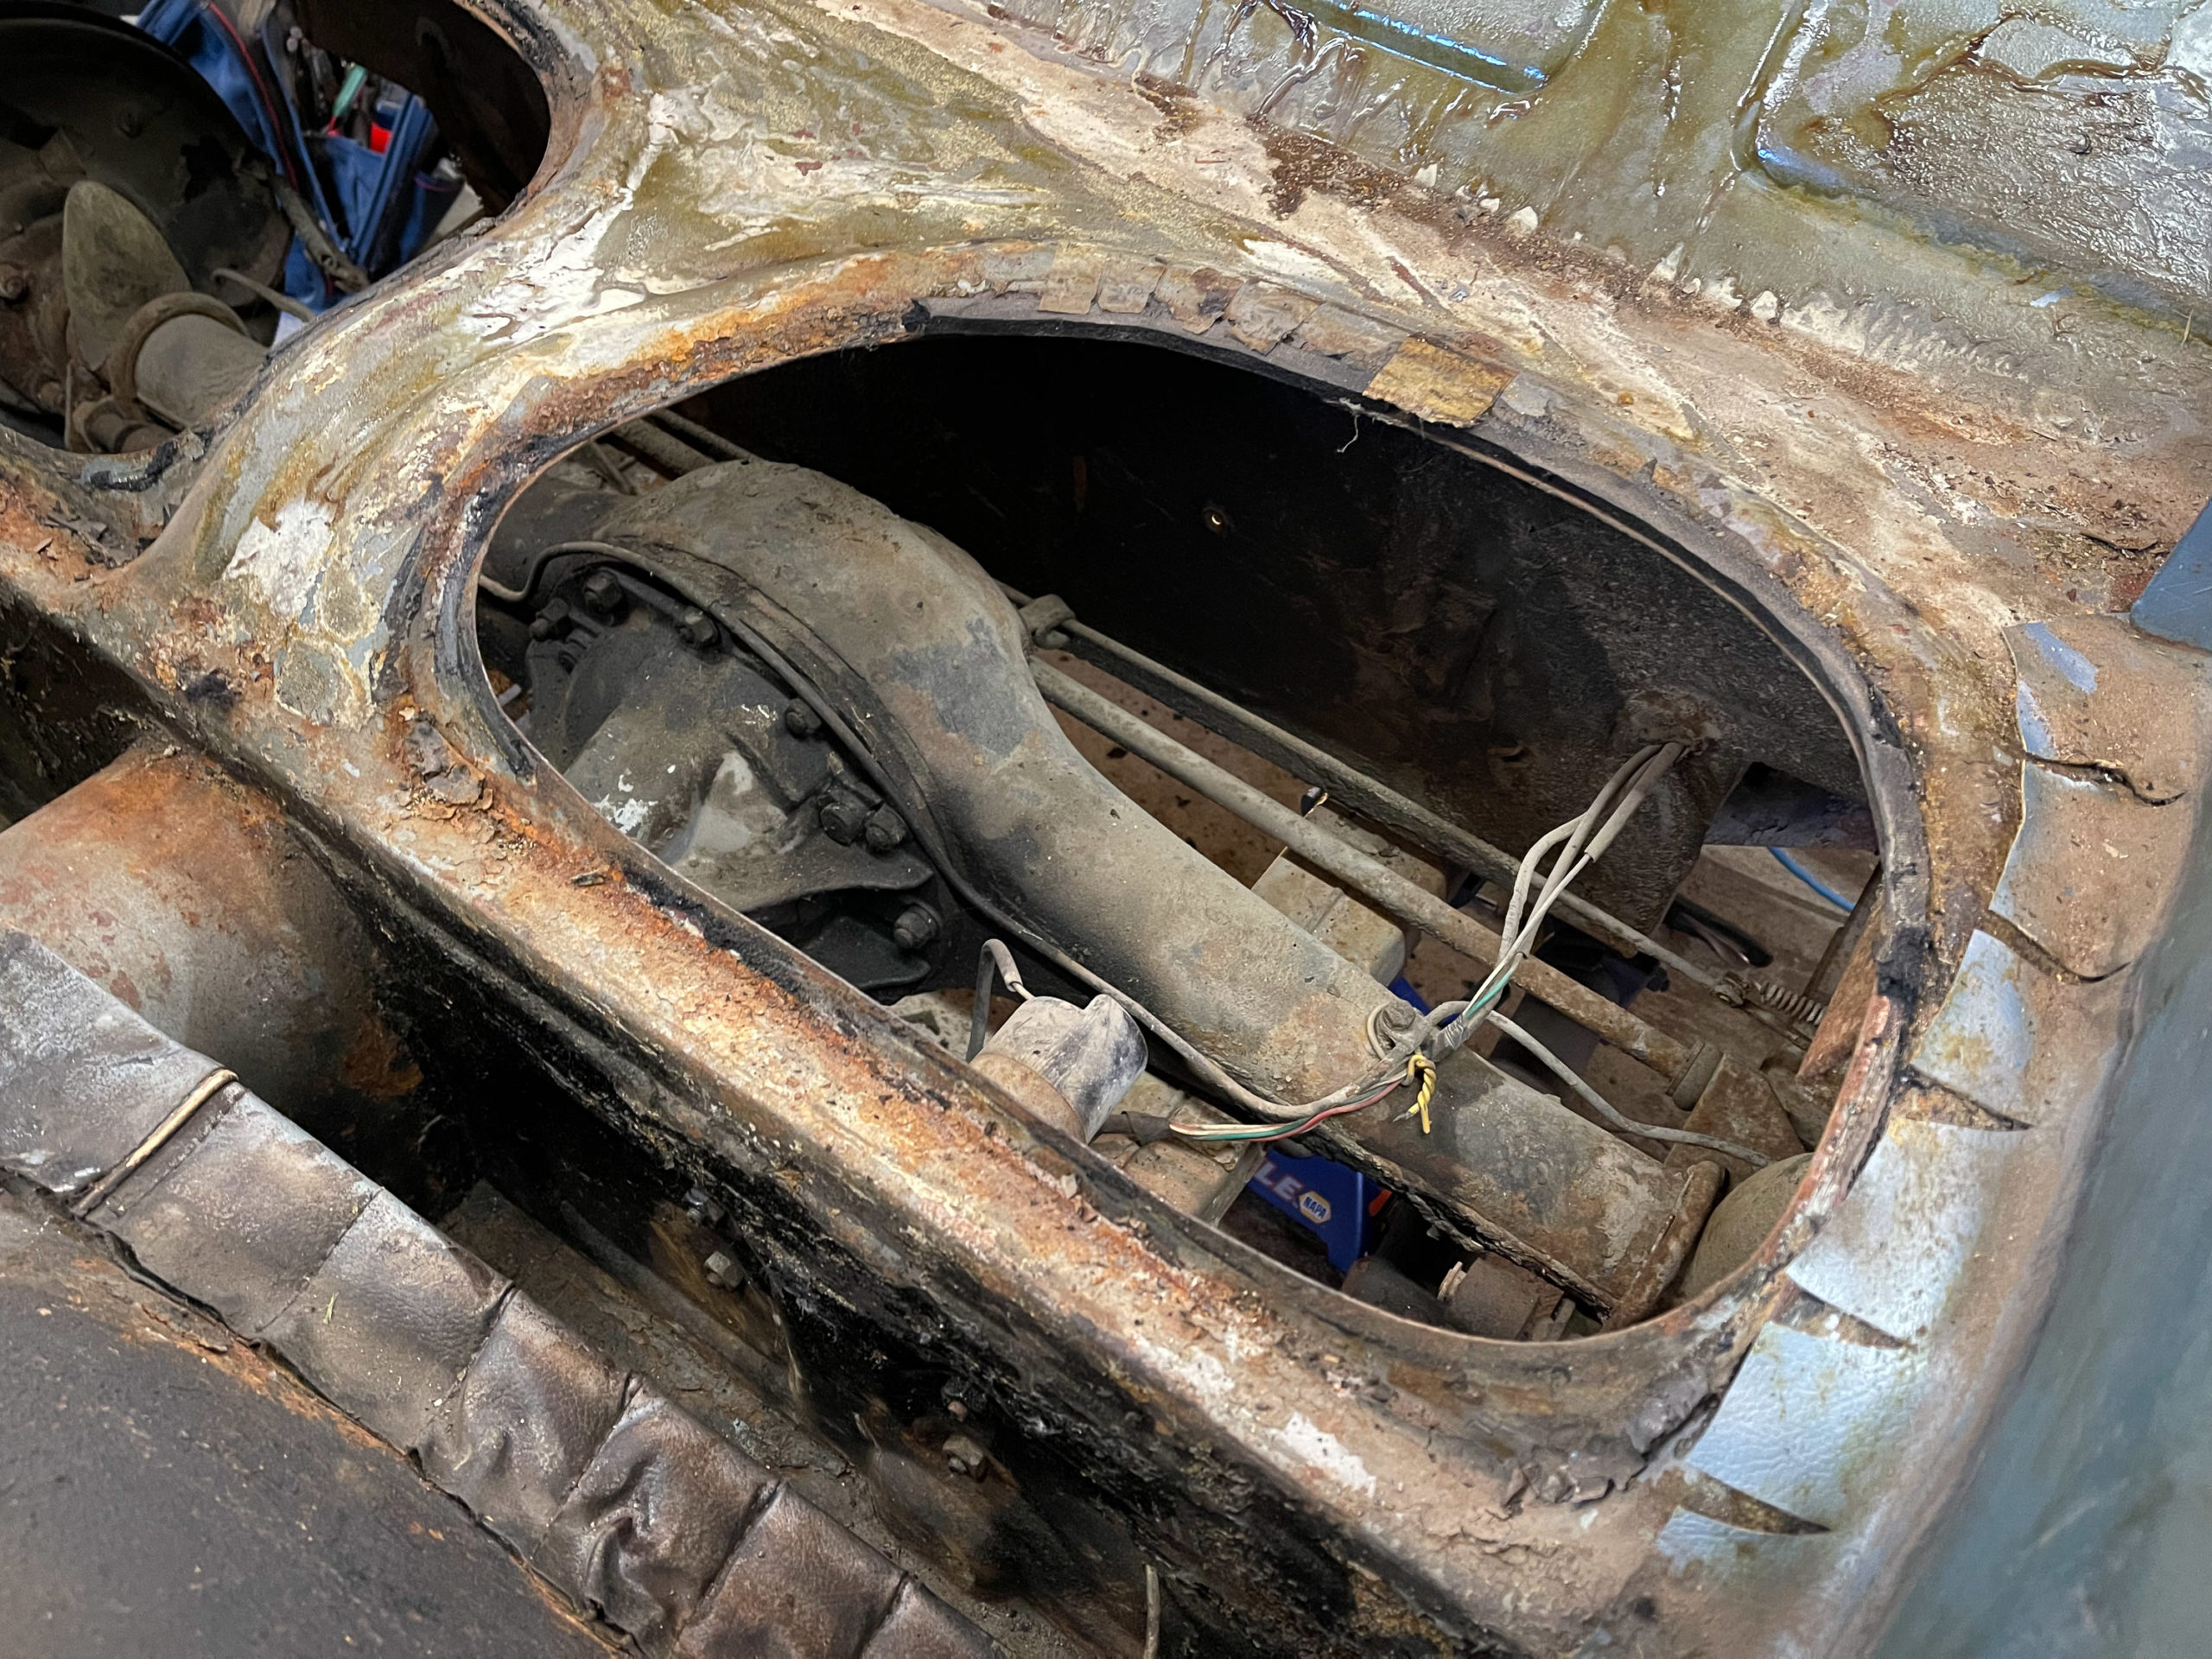
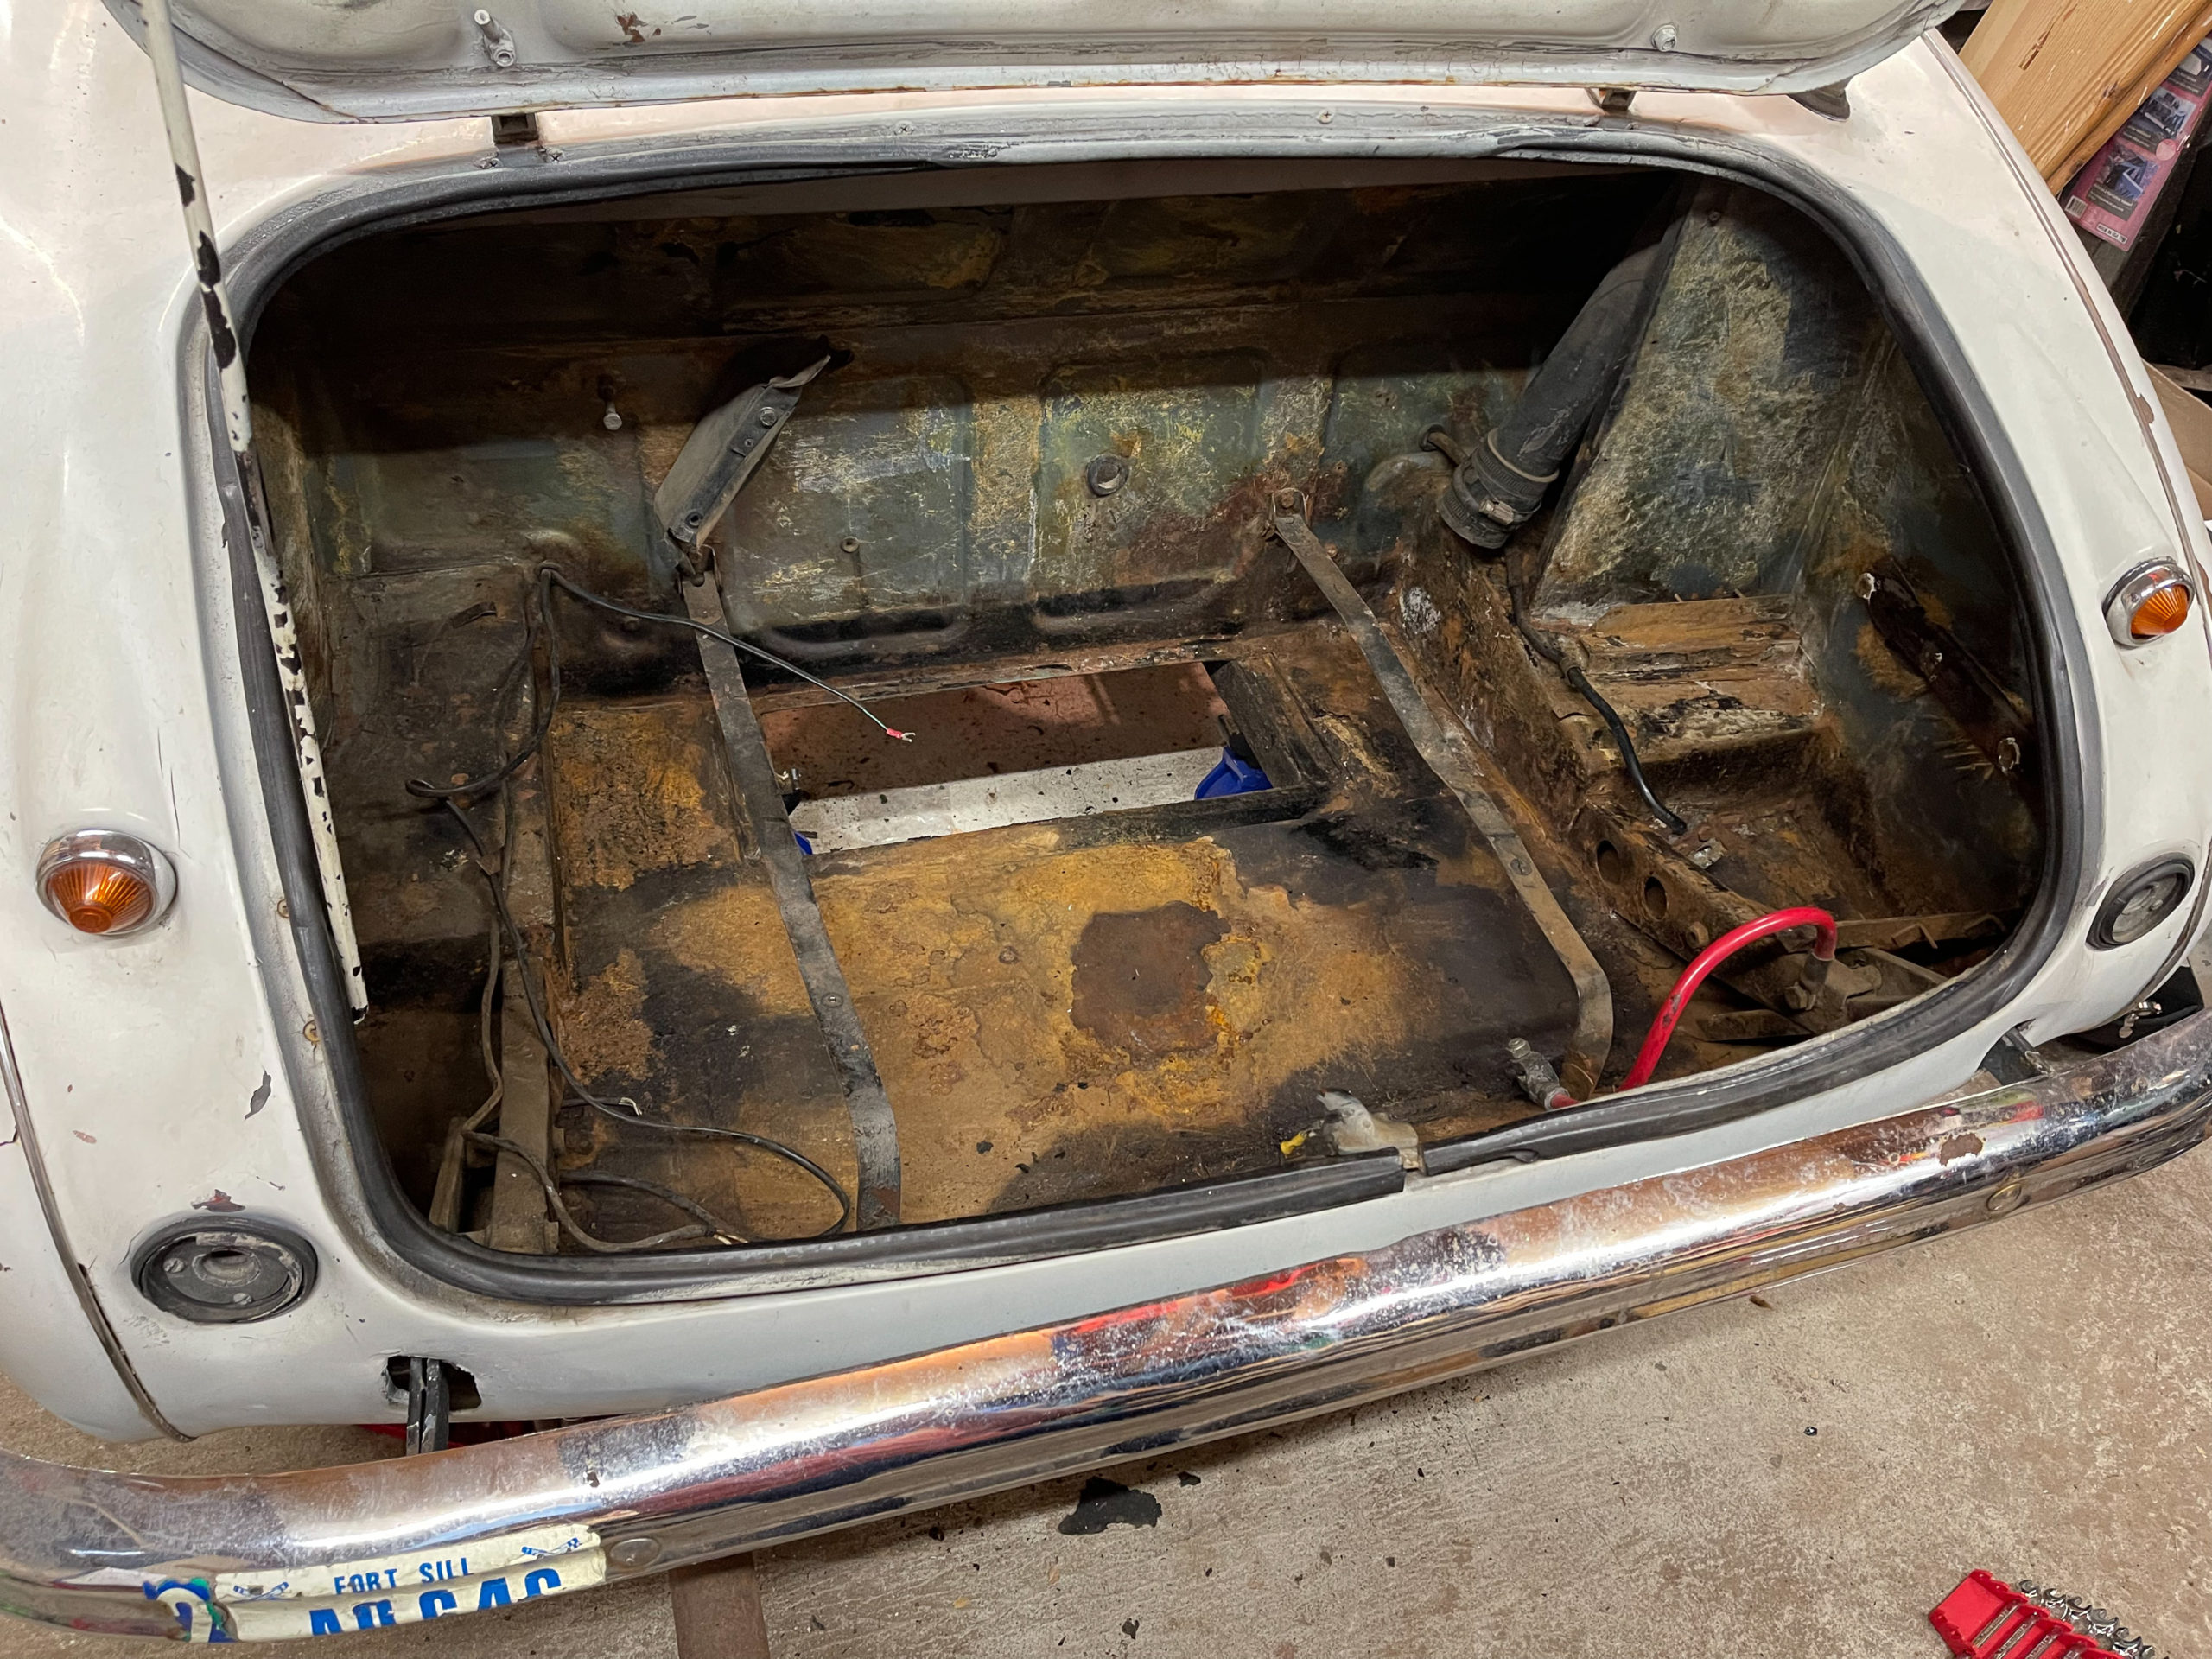
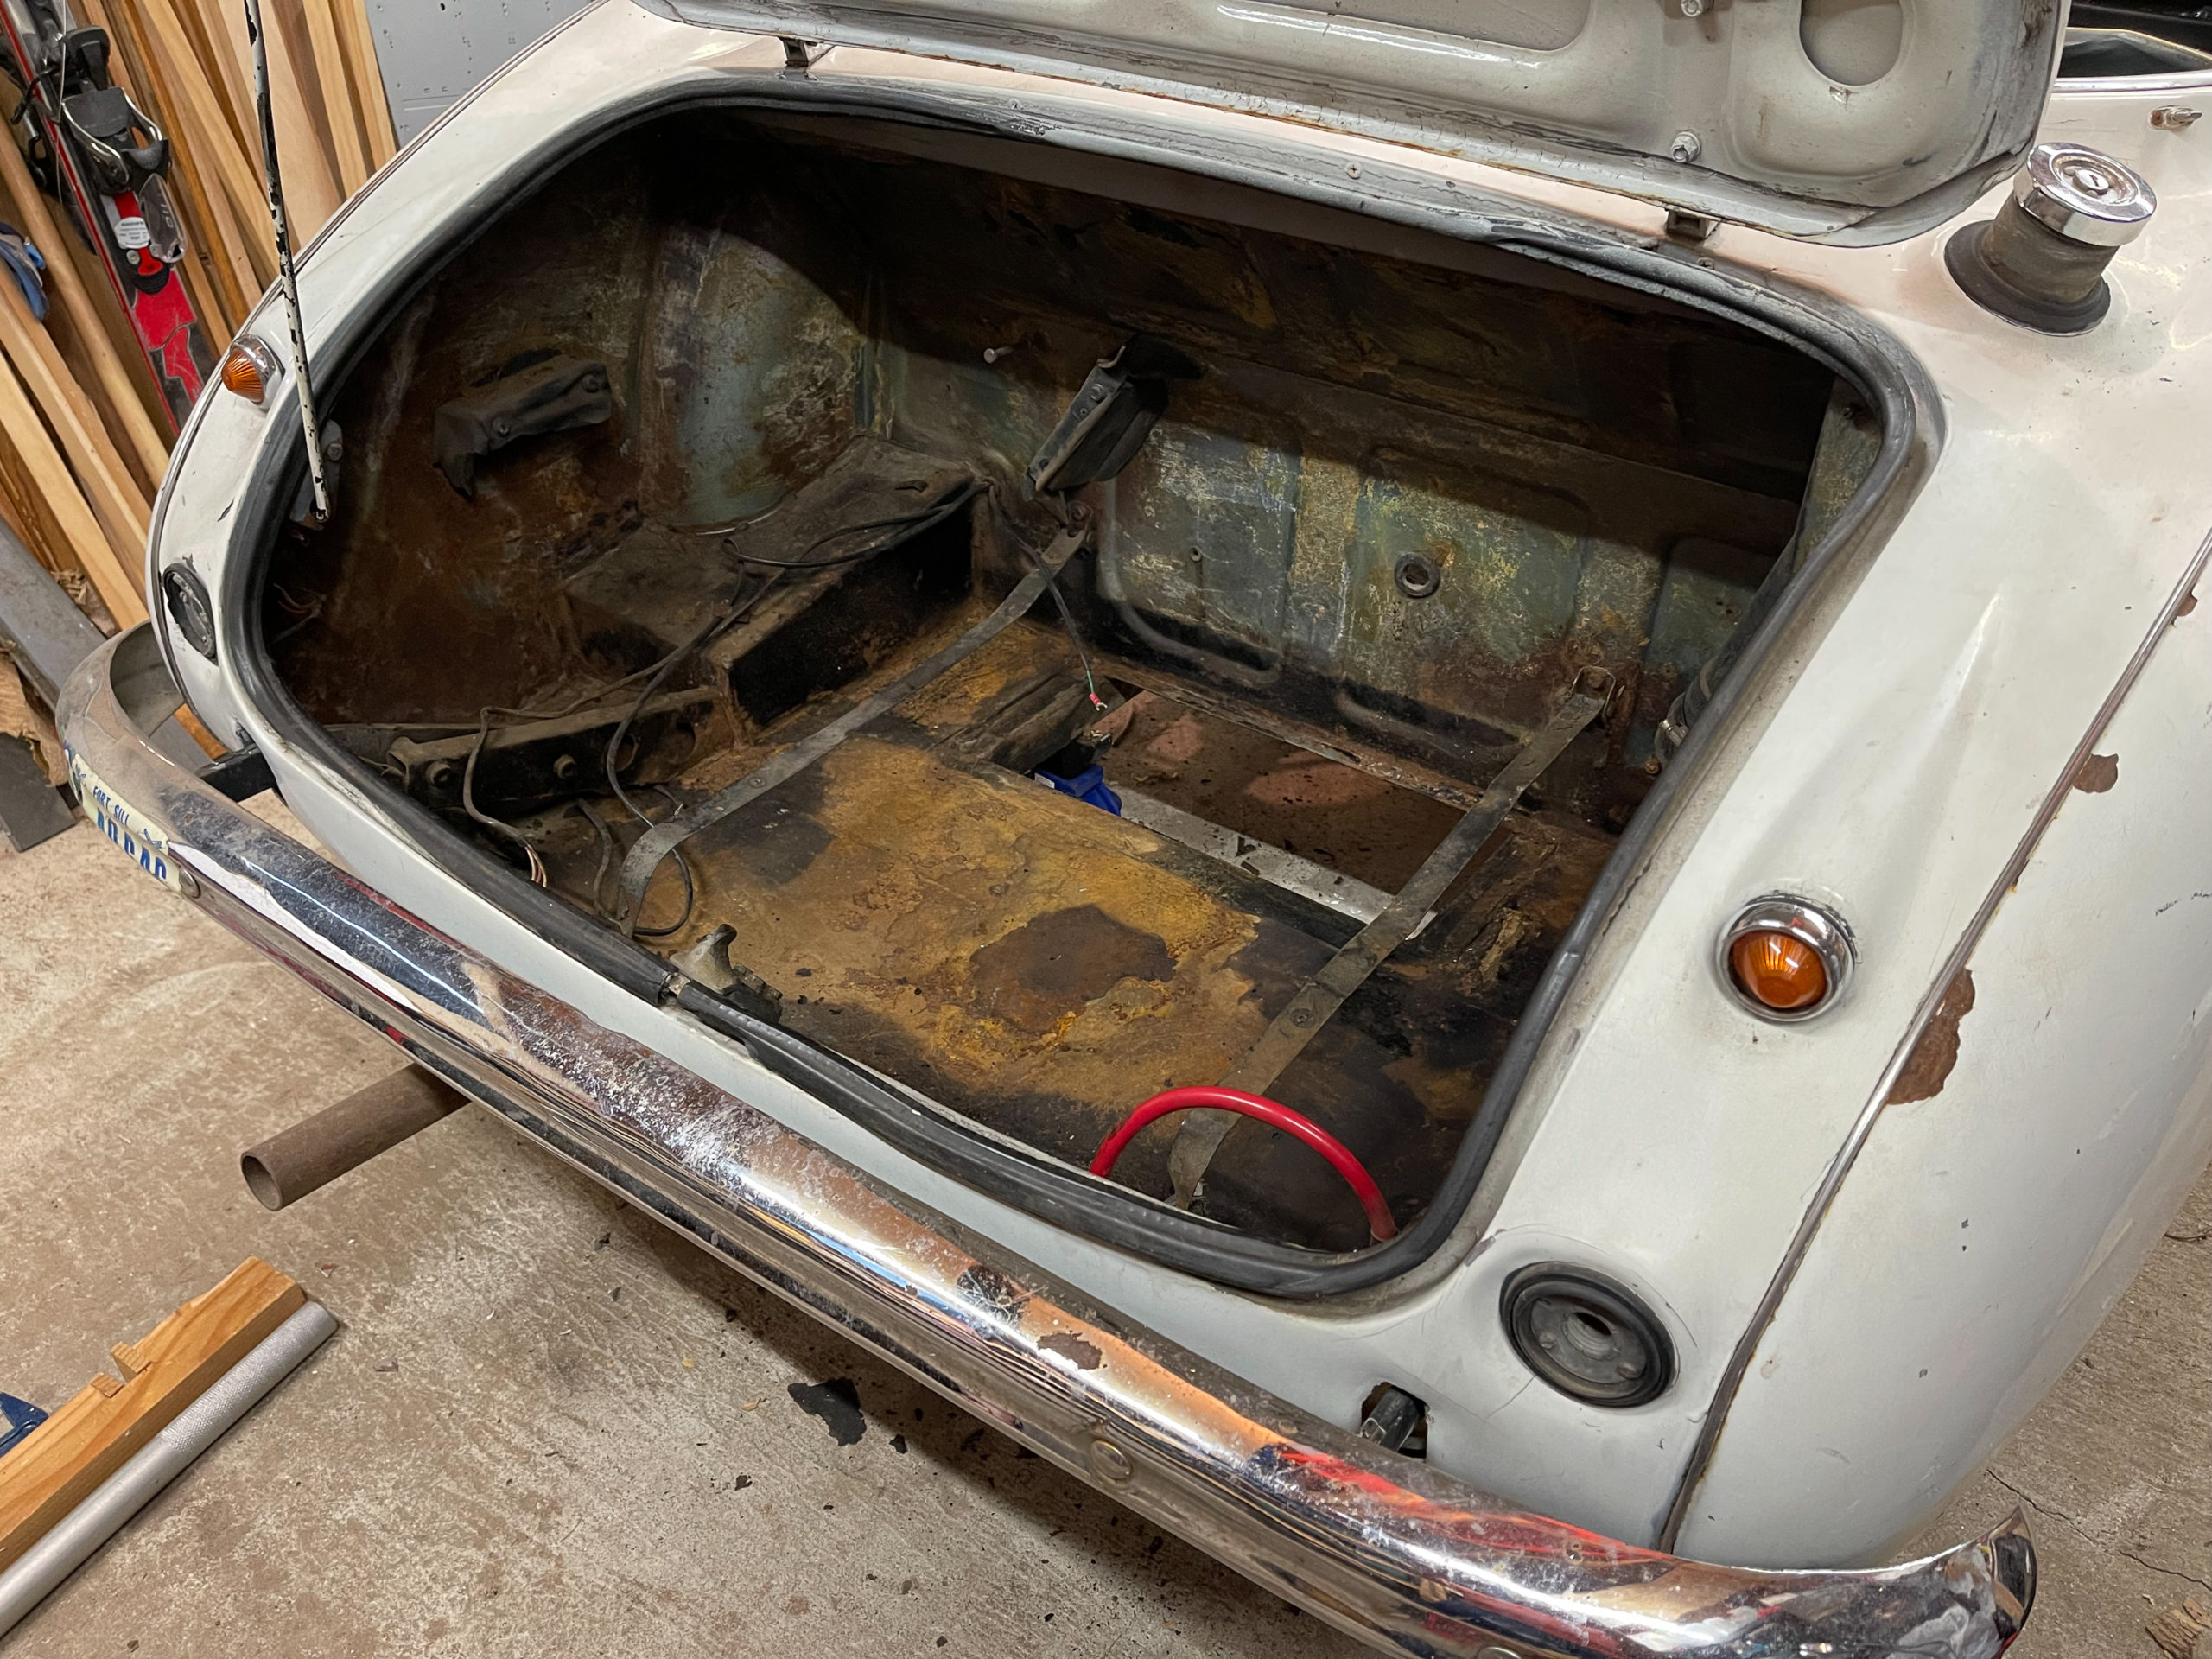
Next up was cleaning out the trunk. I found the installation manual for the electronic ignition at the very bottom. So that will be handy when we're doing the wiring later. I also ripped out the vinyl liner and insulation in order to check the state of the panels, and hopefully get rid of some of the smell. They were in poor enough condition that cutting them out didn't seem like much of a loss. For the most part, everything under that was a pleasant surprise. There was a lot of dirt, and some surface rust, but aside from one spot, it was in pretty good condition. We'll have to figure out what to do with that one spot of rust, maybe weld in some new sheet metal. But for the rest, I think we can hit it with a wire wheel or brush, and throw on some paint to preserve it.
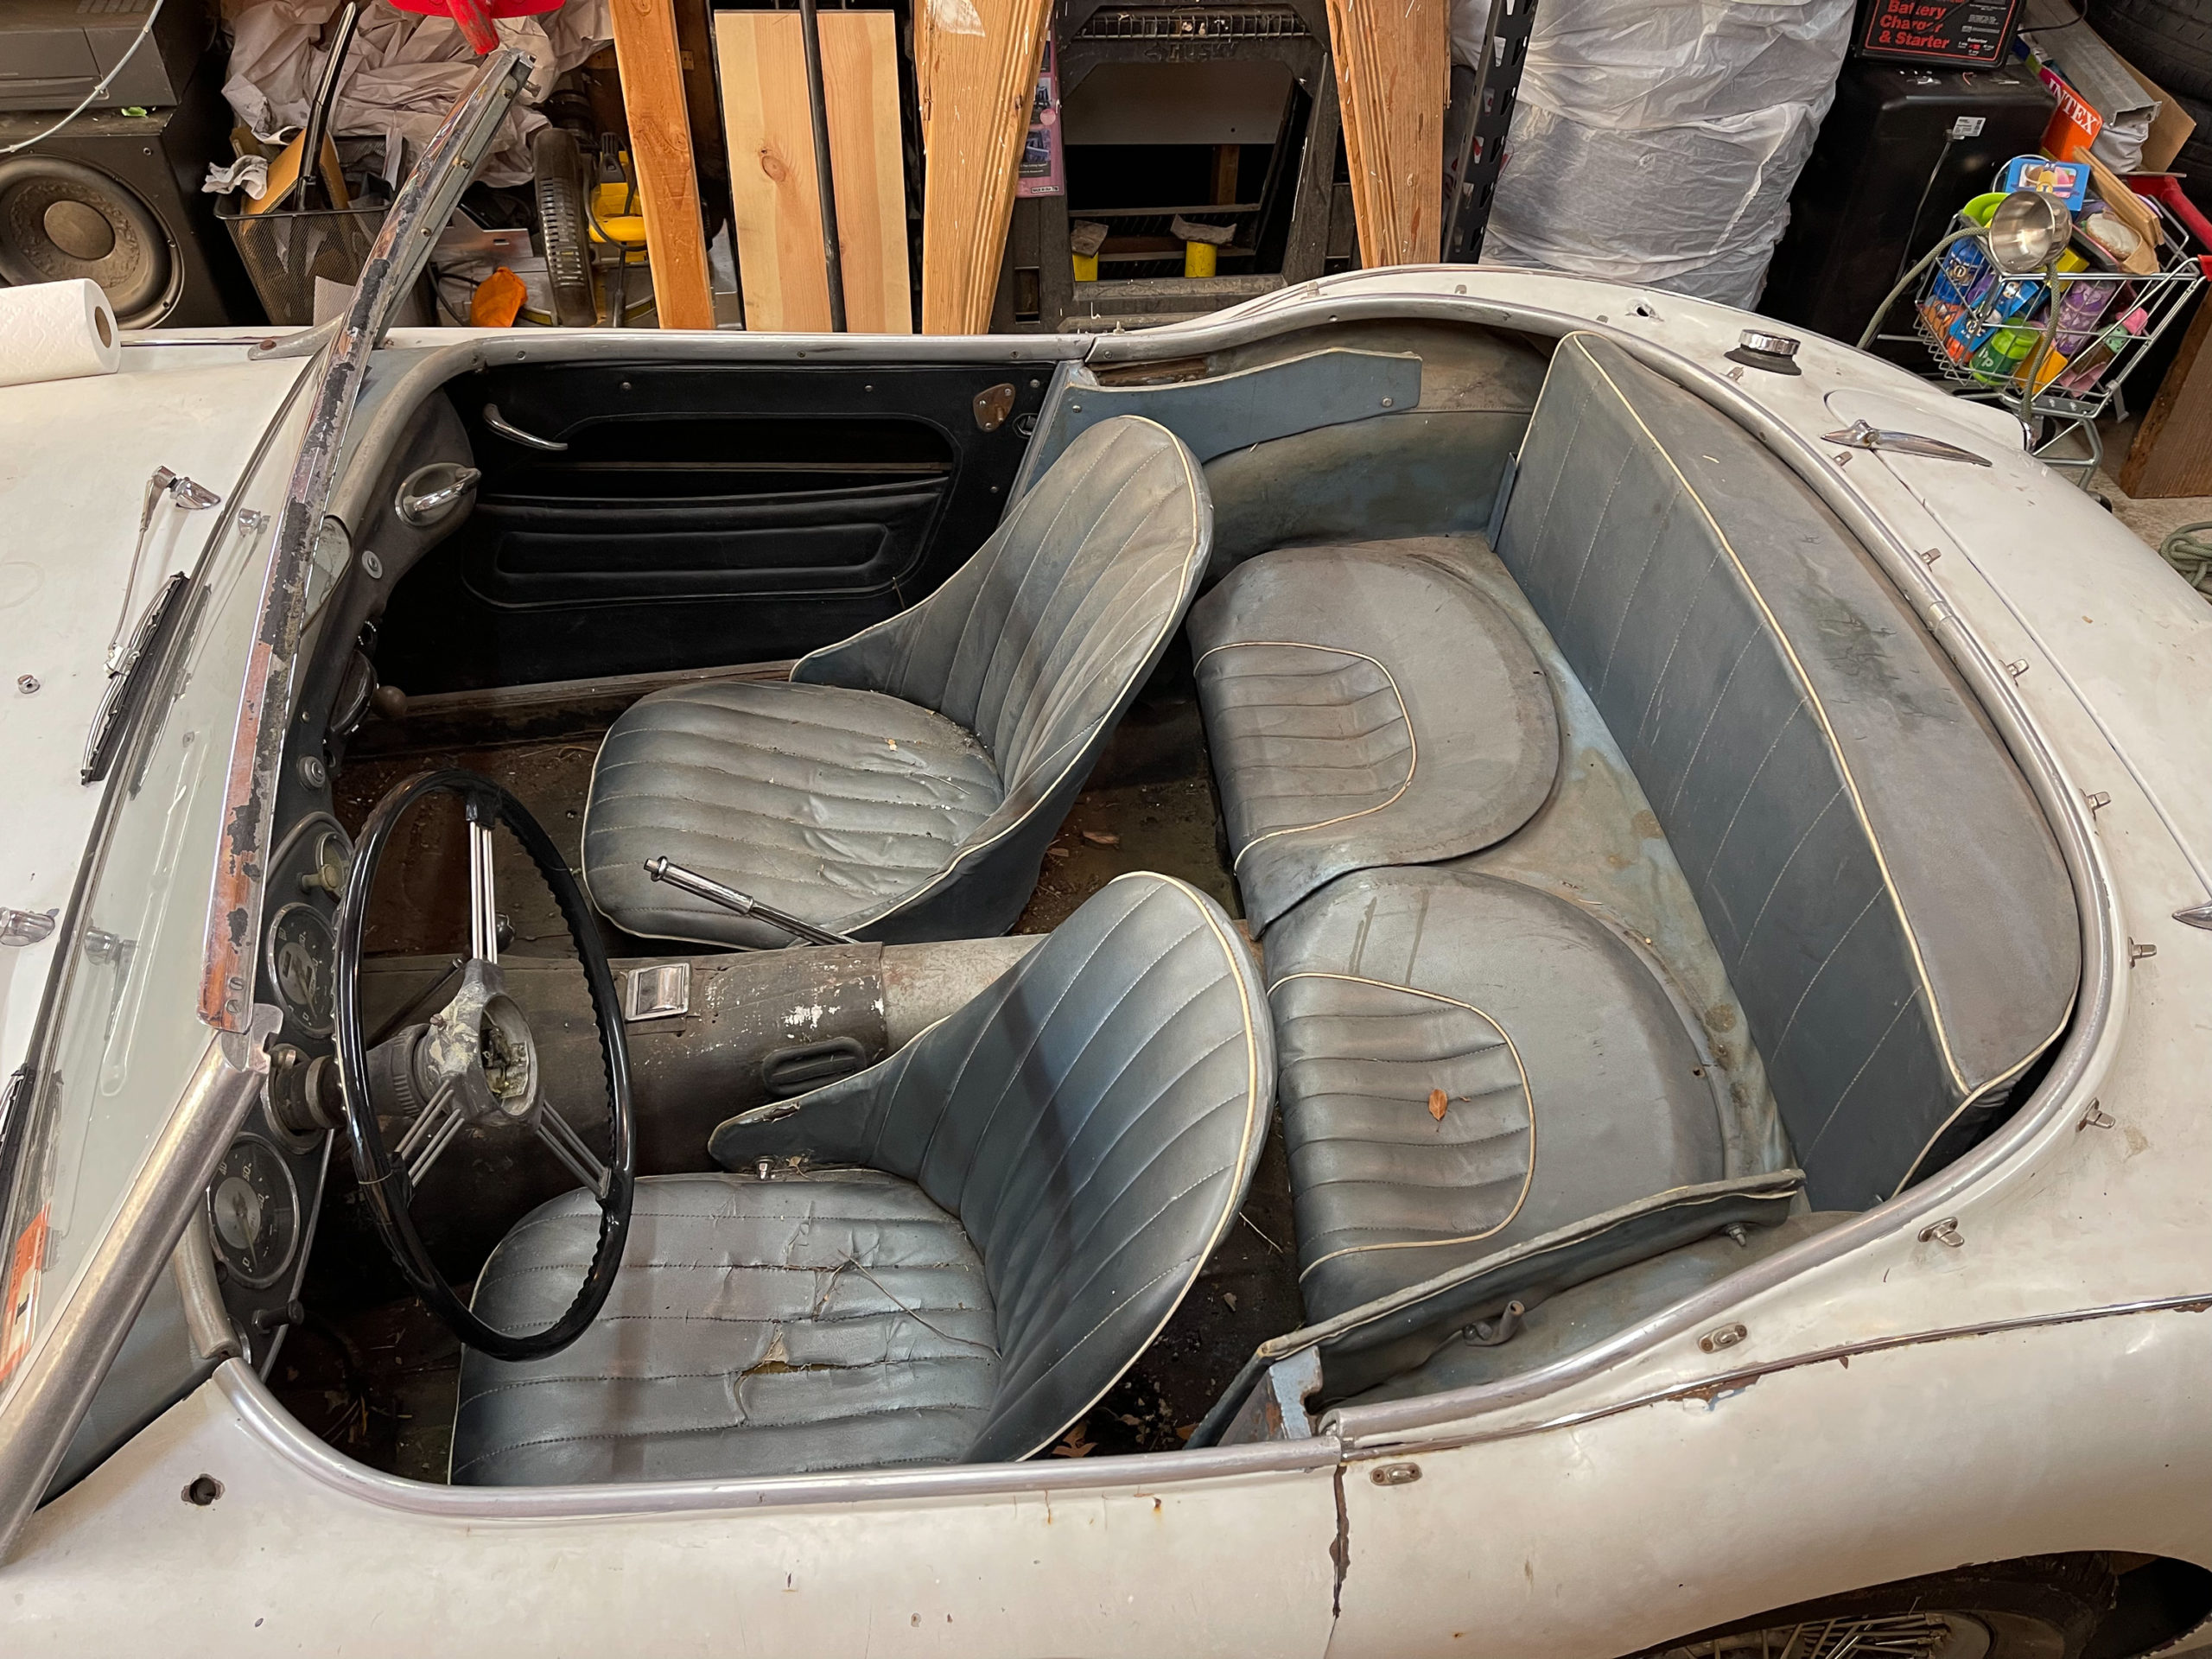
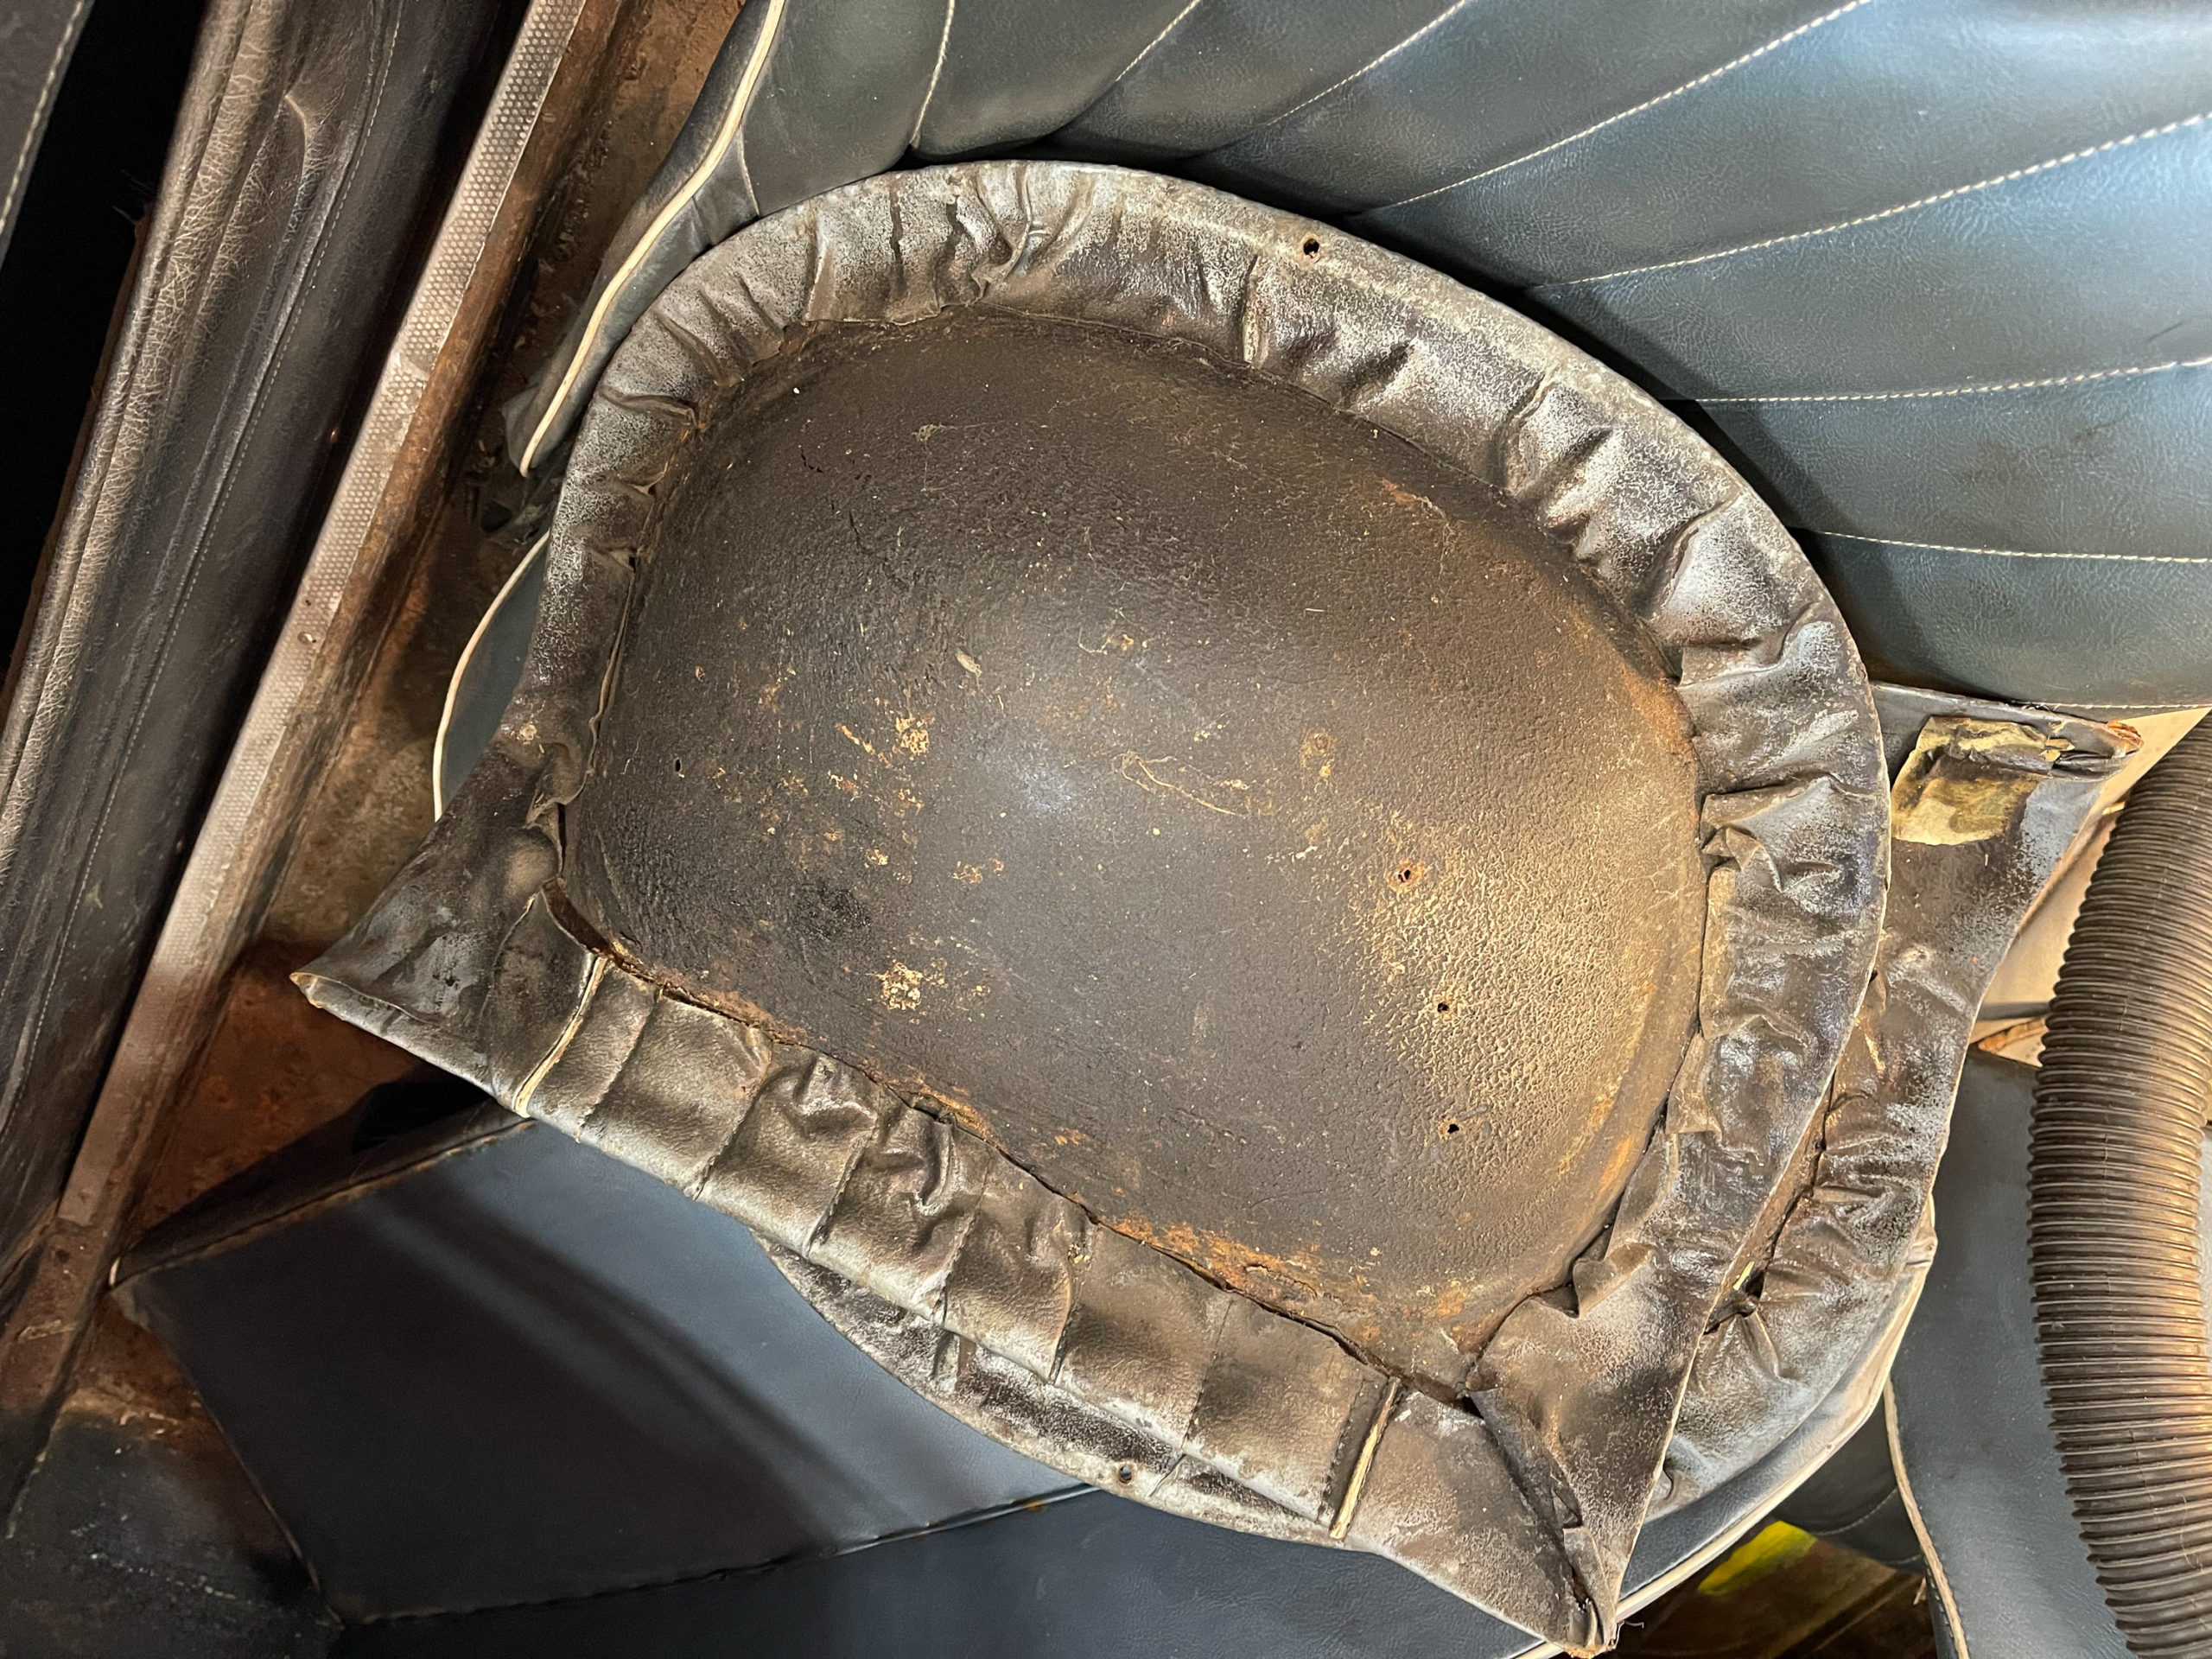
Finally the interior. Really, there wasn't a ton here, though, to be fair, there was never much of an interior to begin with. The vinyl around the rear seats didn't seem to be original (it should have been carpet) and it seemed important to know what was going on underneath it. So I removed that. Things around the seats looked pretty messy, but cleaned up reasonably well with a little scraping. I think we'll do the same thing throughout the cabin as in the trunk. Hit them with a brush or wheel, and then throw on some paint to prevent rust. POR-15 would be good to prevent rust, but trying to find Healey Blue to match the eventual exterior will be better.
Moving on to the front seats. I started on the driver's side. My initial hope was that at least the seat foam would be salveageable, but when I lifted out the seat bottom, a good portion of the foam was left behind in a pile of crumbled foam. One of the bolts holding the driver's seat frame in place is stripped, so I'll cut that off later and that will get the driver's seat and remaining carpet underneath it out. I didn't get to the passenger seat, but it should go pretty quickly. Then I can do a final vacuuming and the interior will be set until we can do some prepping and painting.
One last, sort of amusing thing here. I kept wondering what material the rear seats were made of. It had a strange texture that I couldn't identify. Then I realized what was actually going on. Whoever did the underbody coating just sprayed those as well. You can see the overspray on the vinyl seat cover that wraps under the bottom.